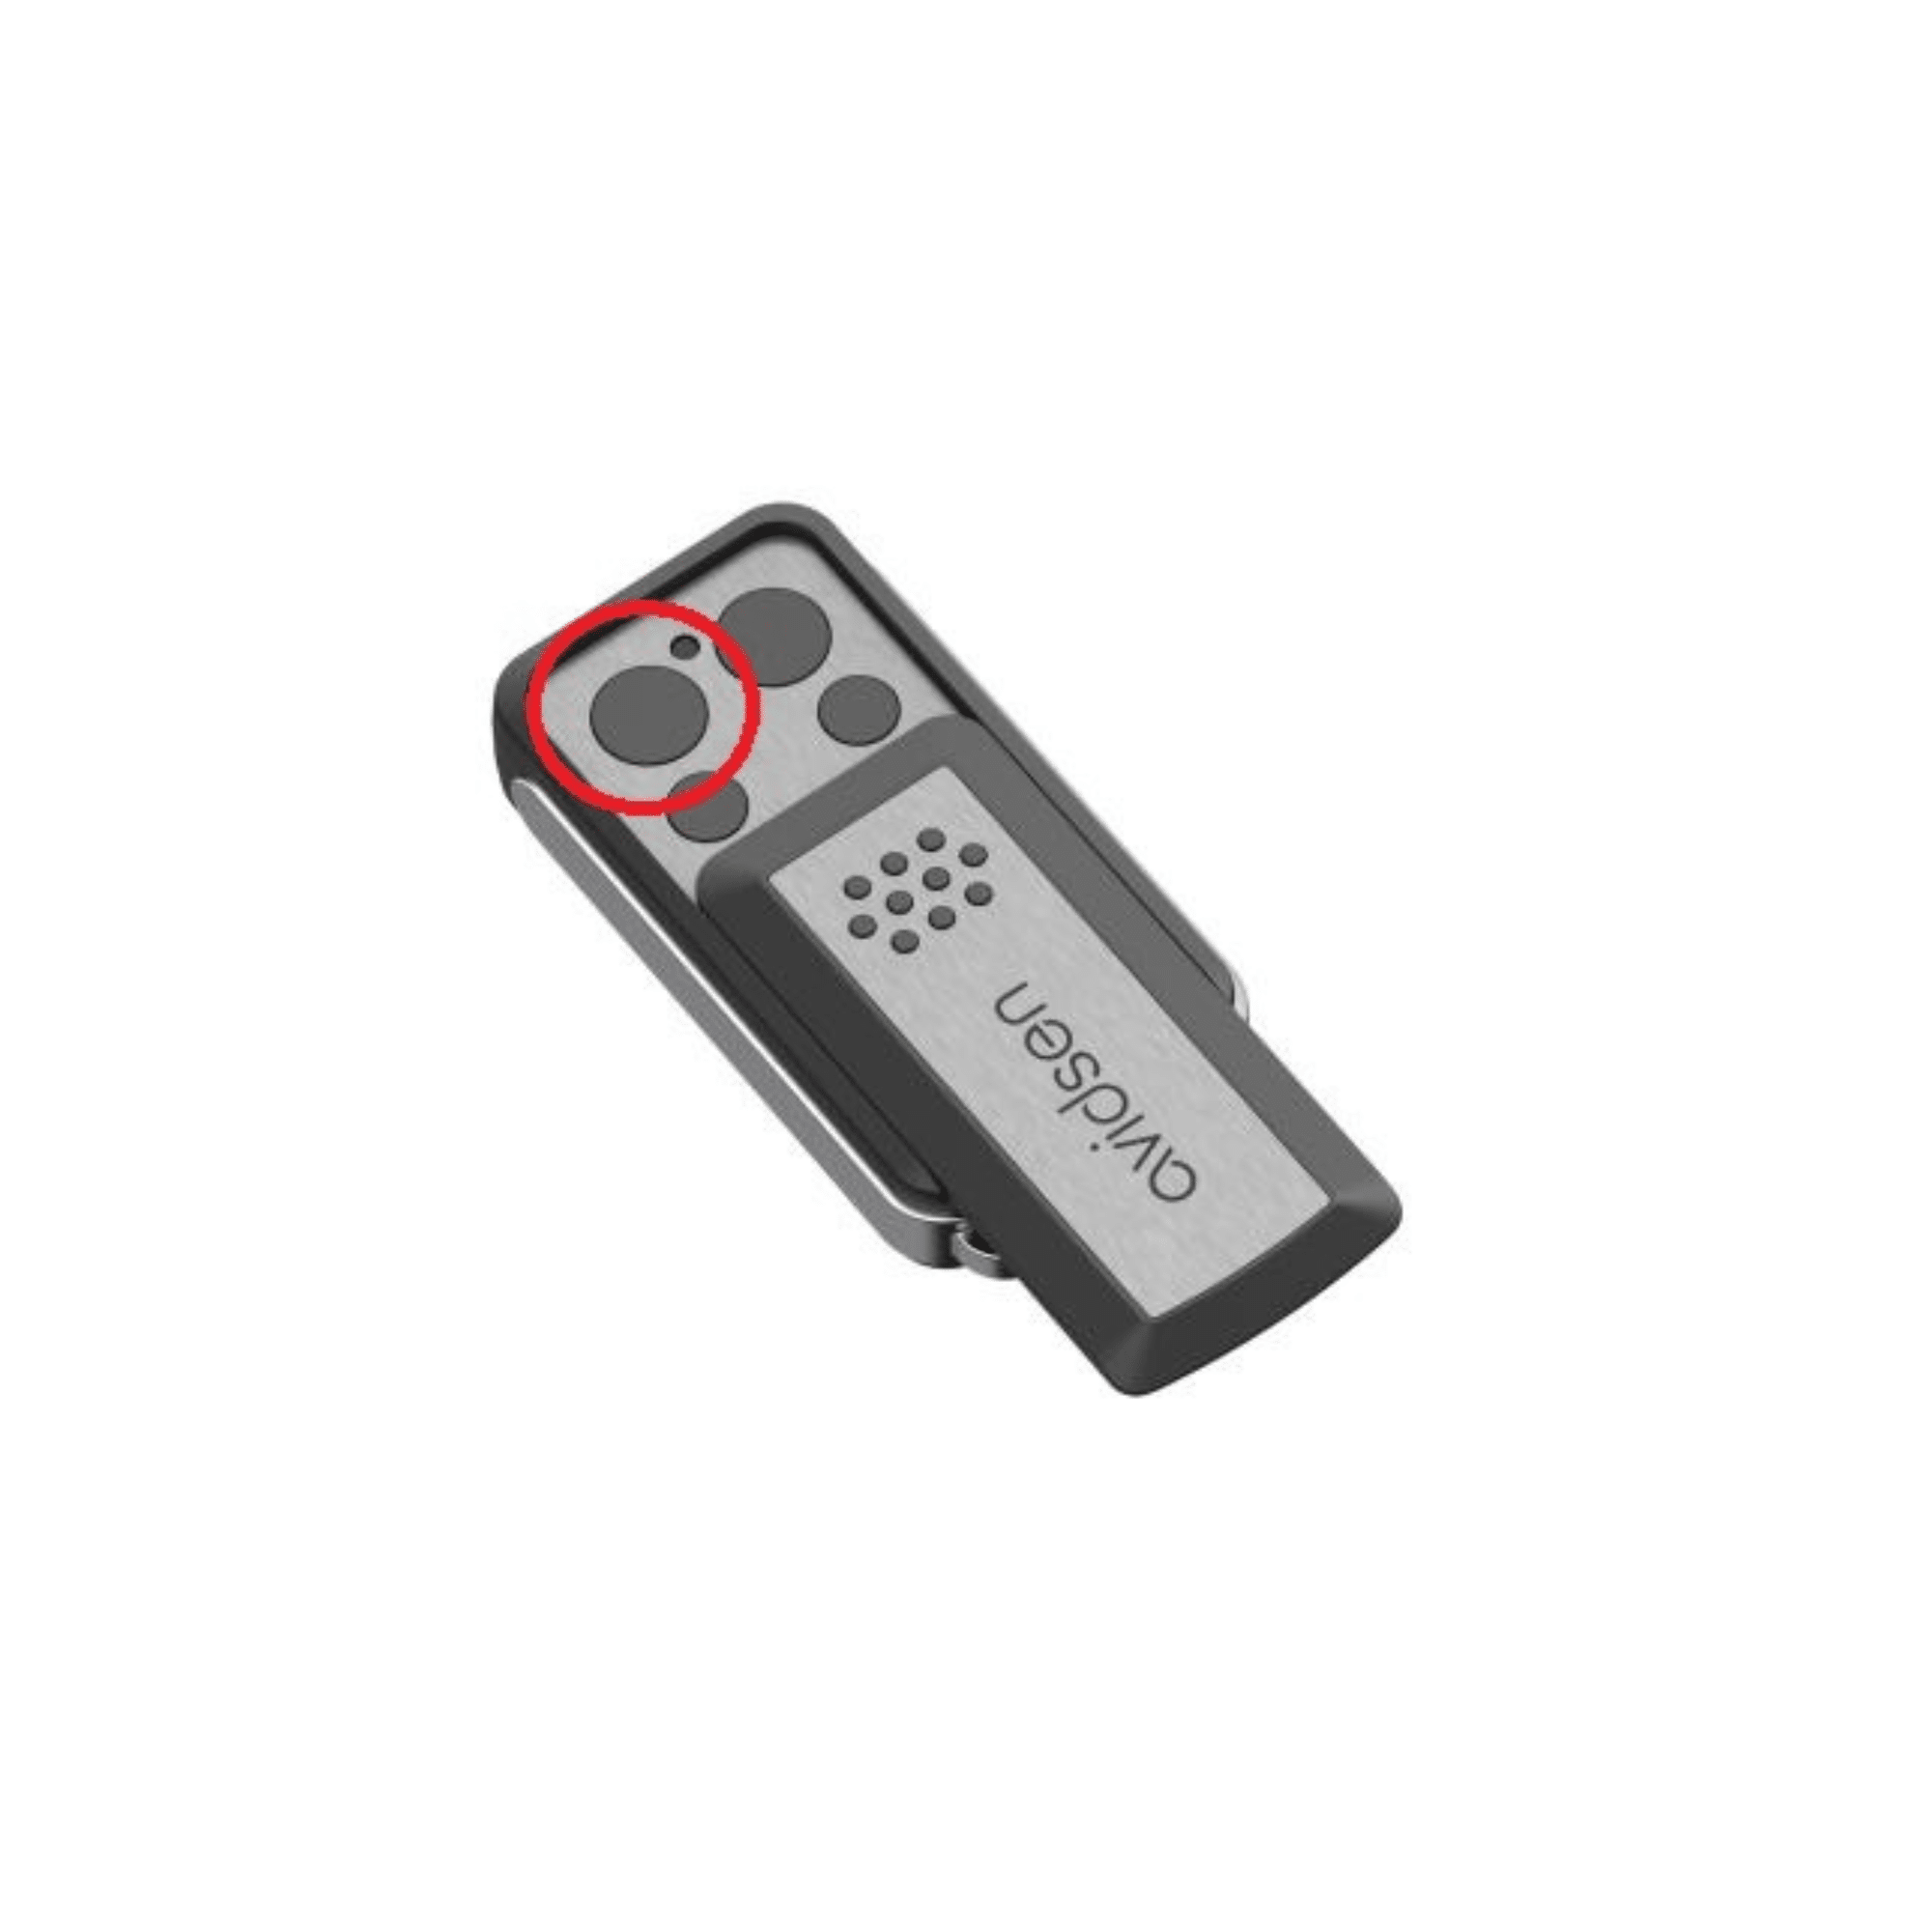
The electronic board can store a maximum of 15 remote control buttons.
If the radio memory is full, it will not be possible to add further radio elements to it.
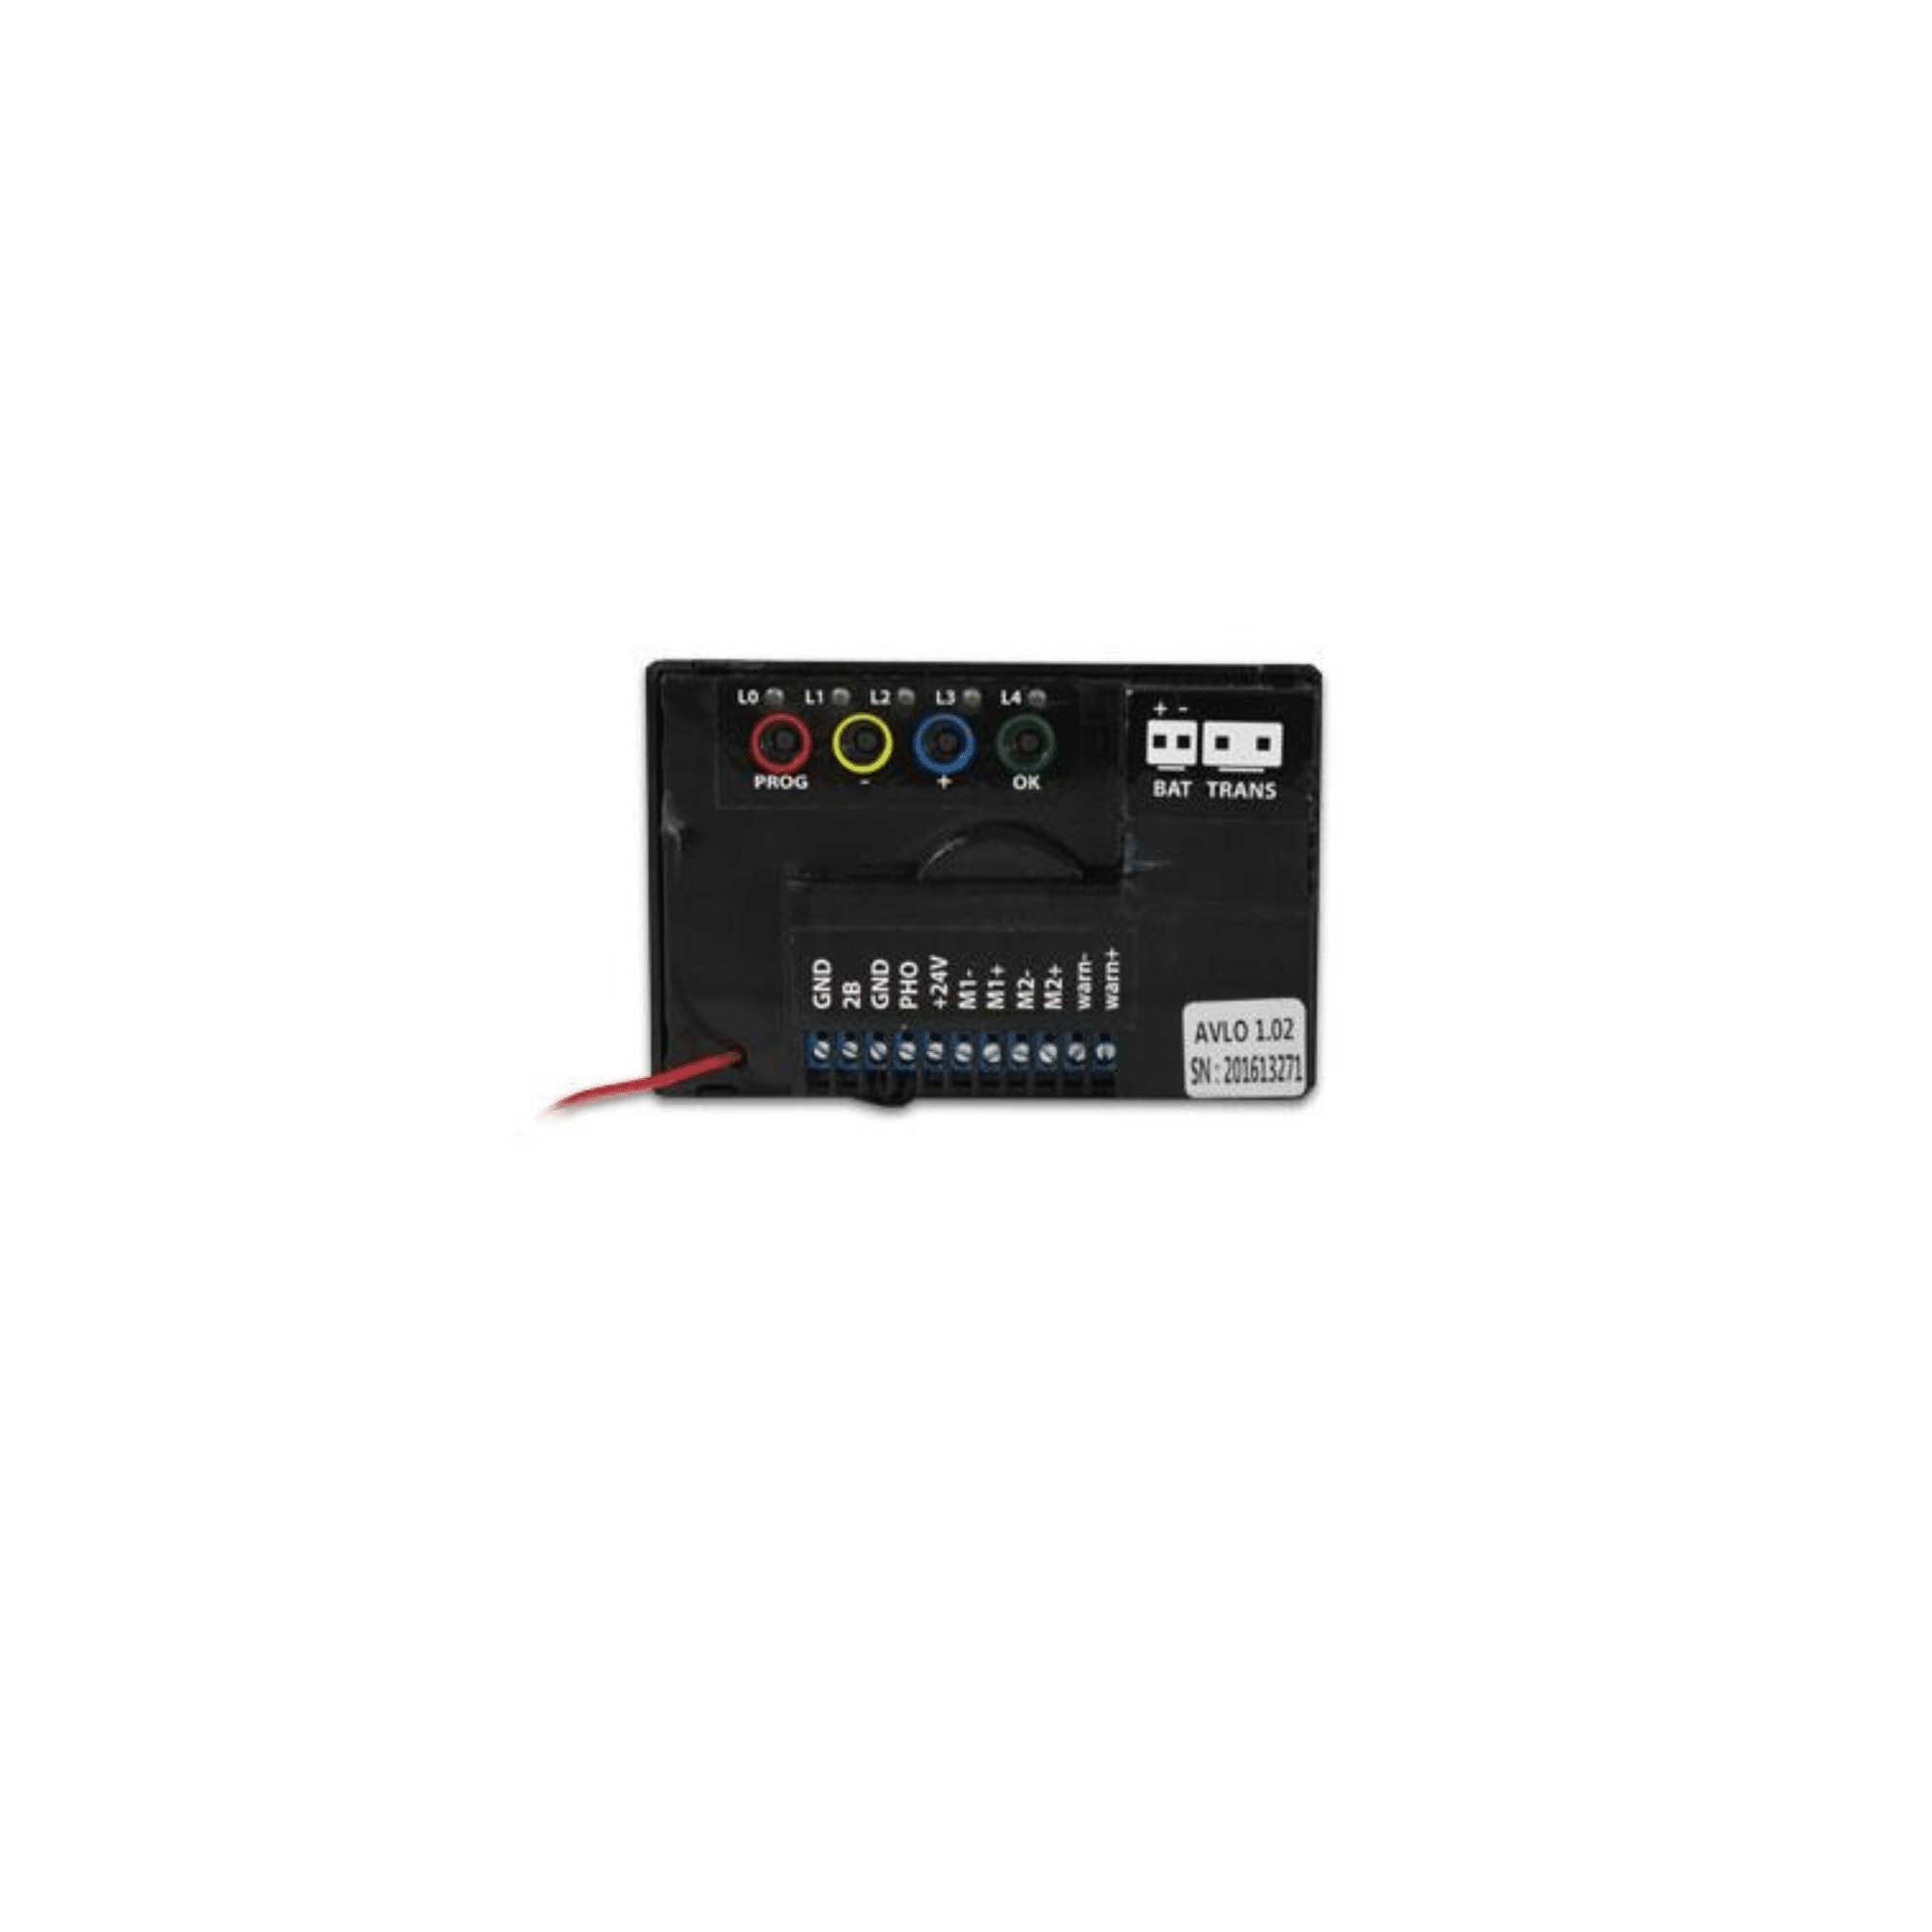
The card has an LED animation to inform you of this status when you attempt to program it.
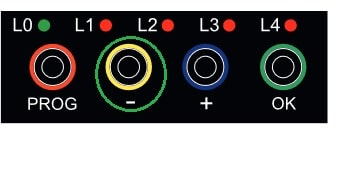
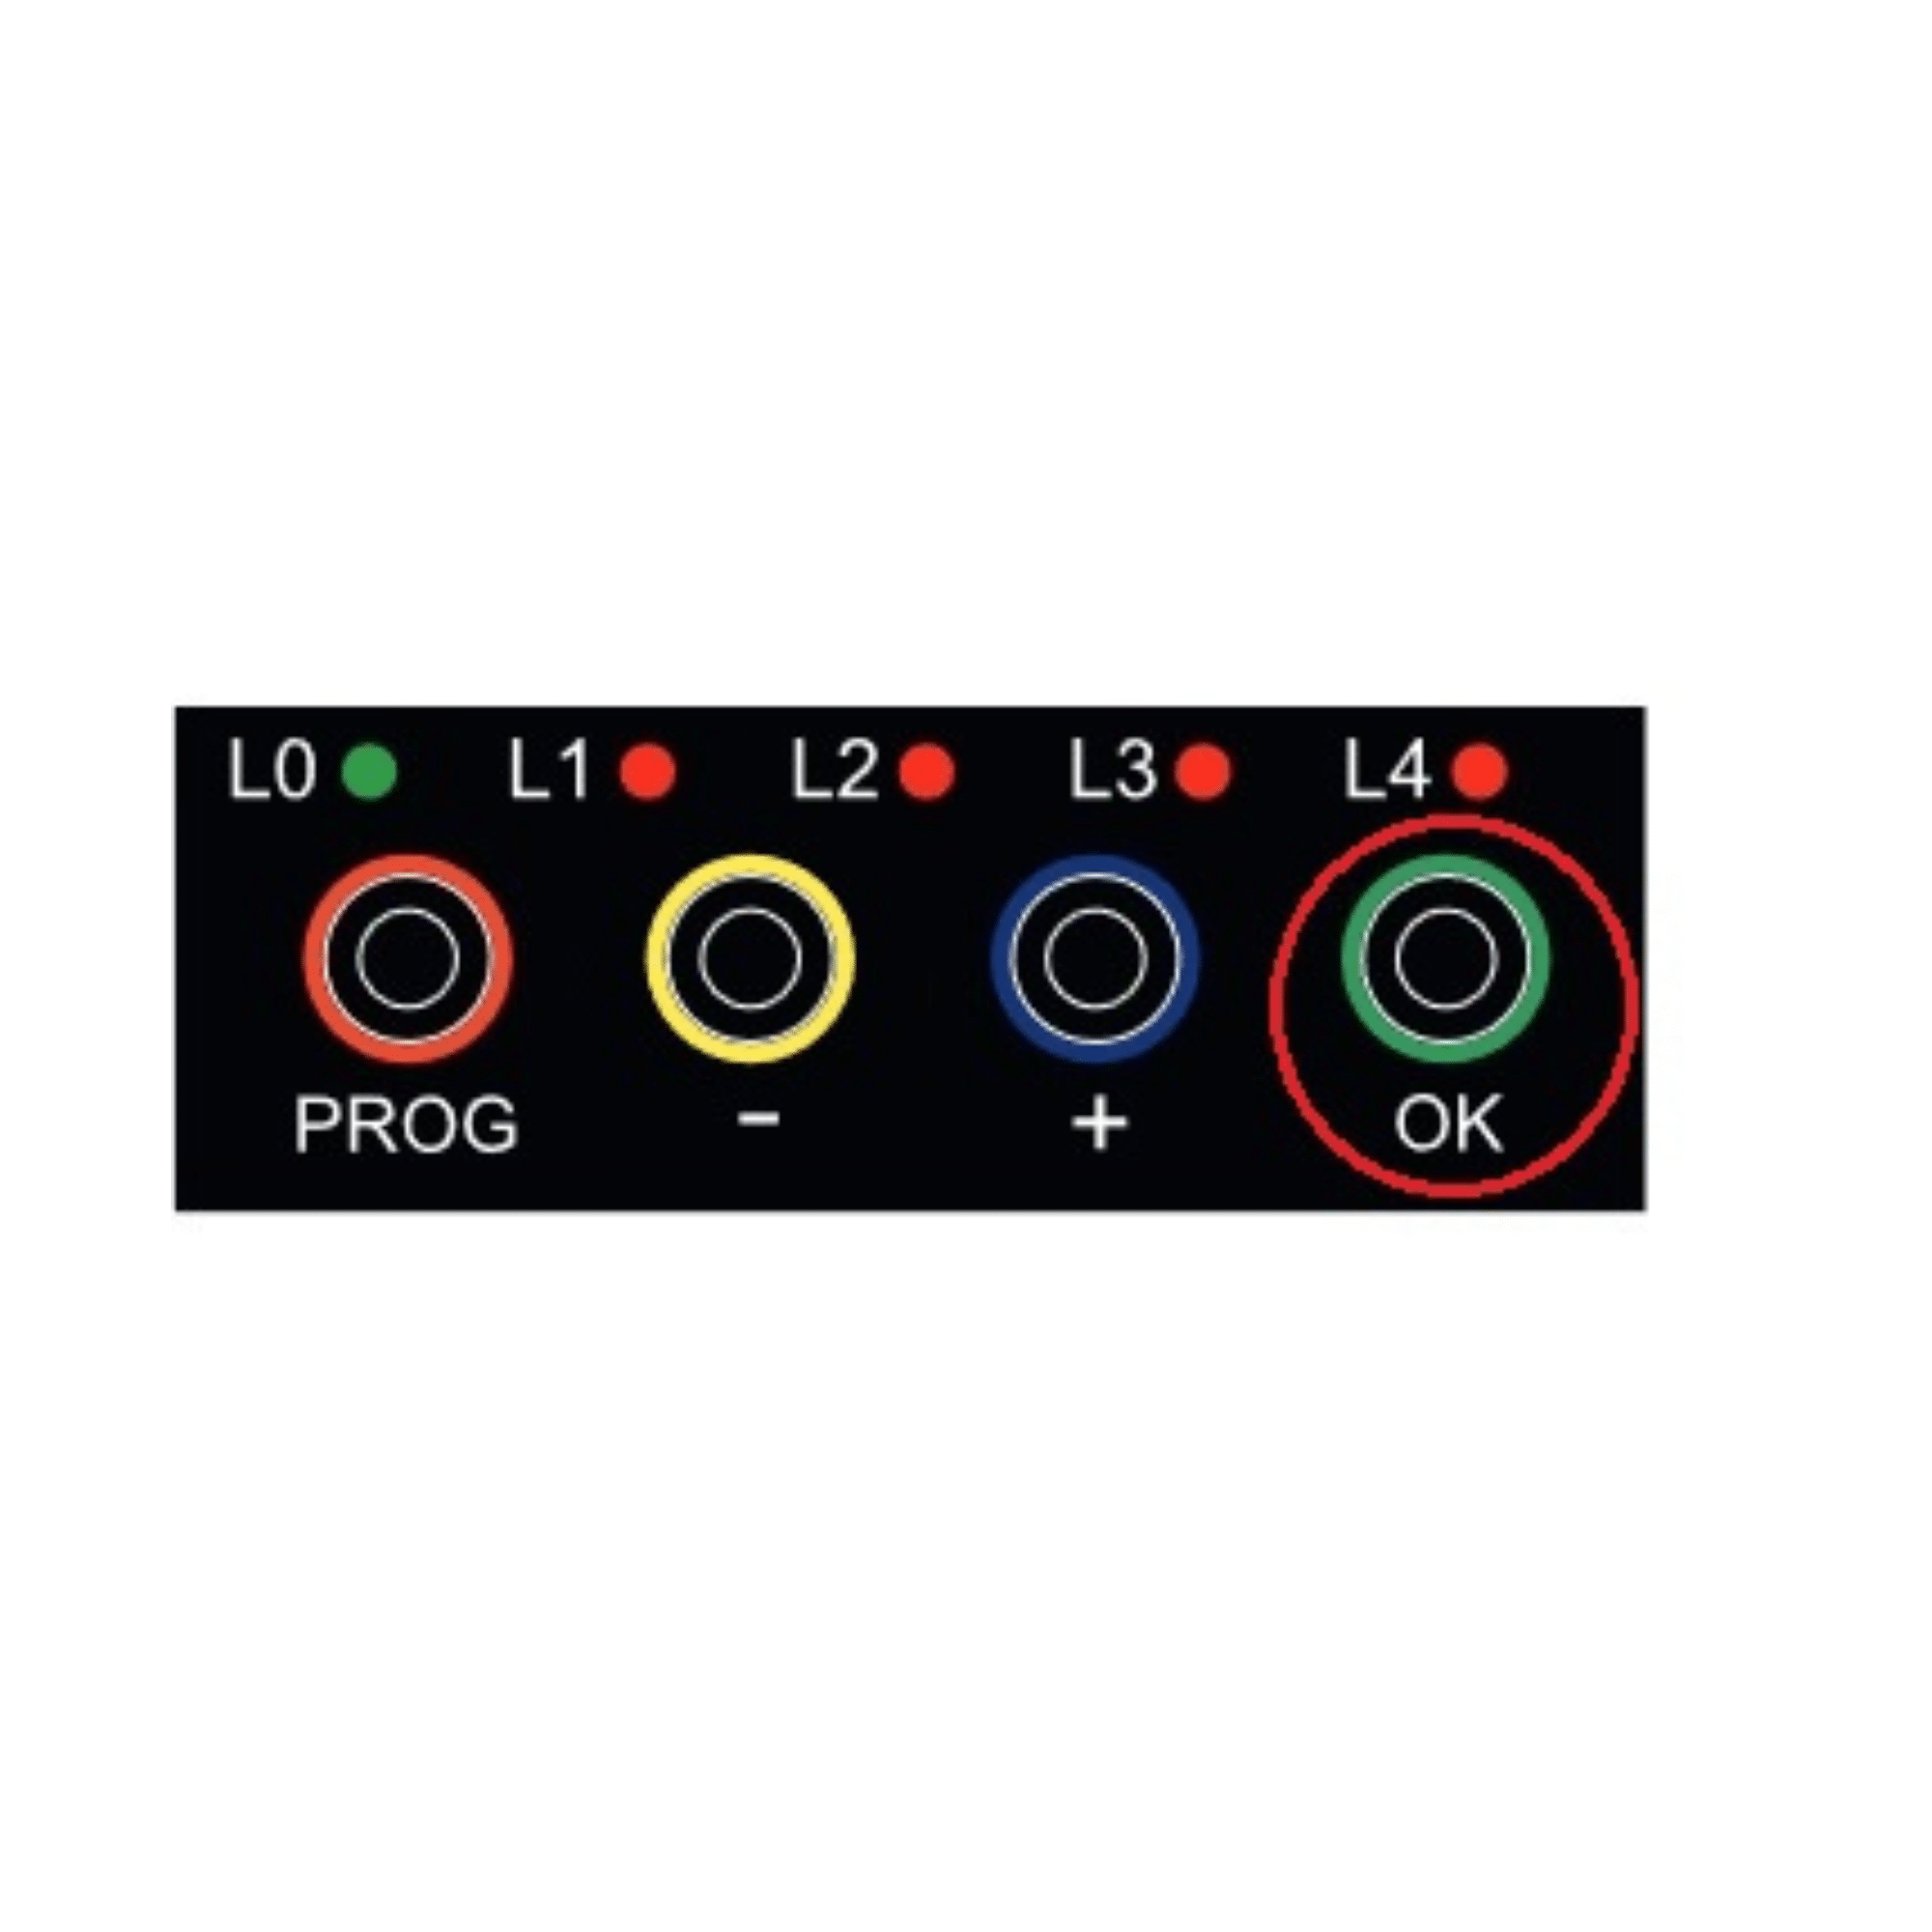
When you confirm step 1 by briefly pressing the OK button, instead of the L1 and L4 LEDs flashing, the board will rapidly light up all its red LEDs twice.
In this case, it will be necessary to delete the radio memory to obtain new memory space (see radio memory deletion tutorial).