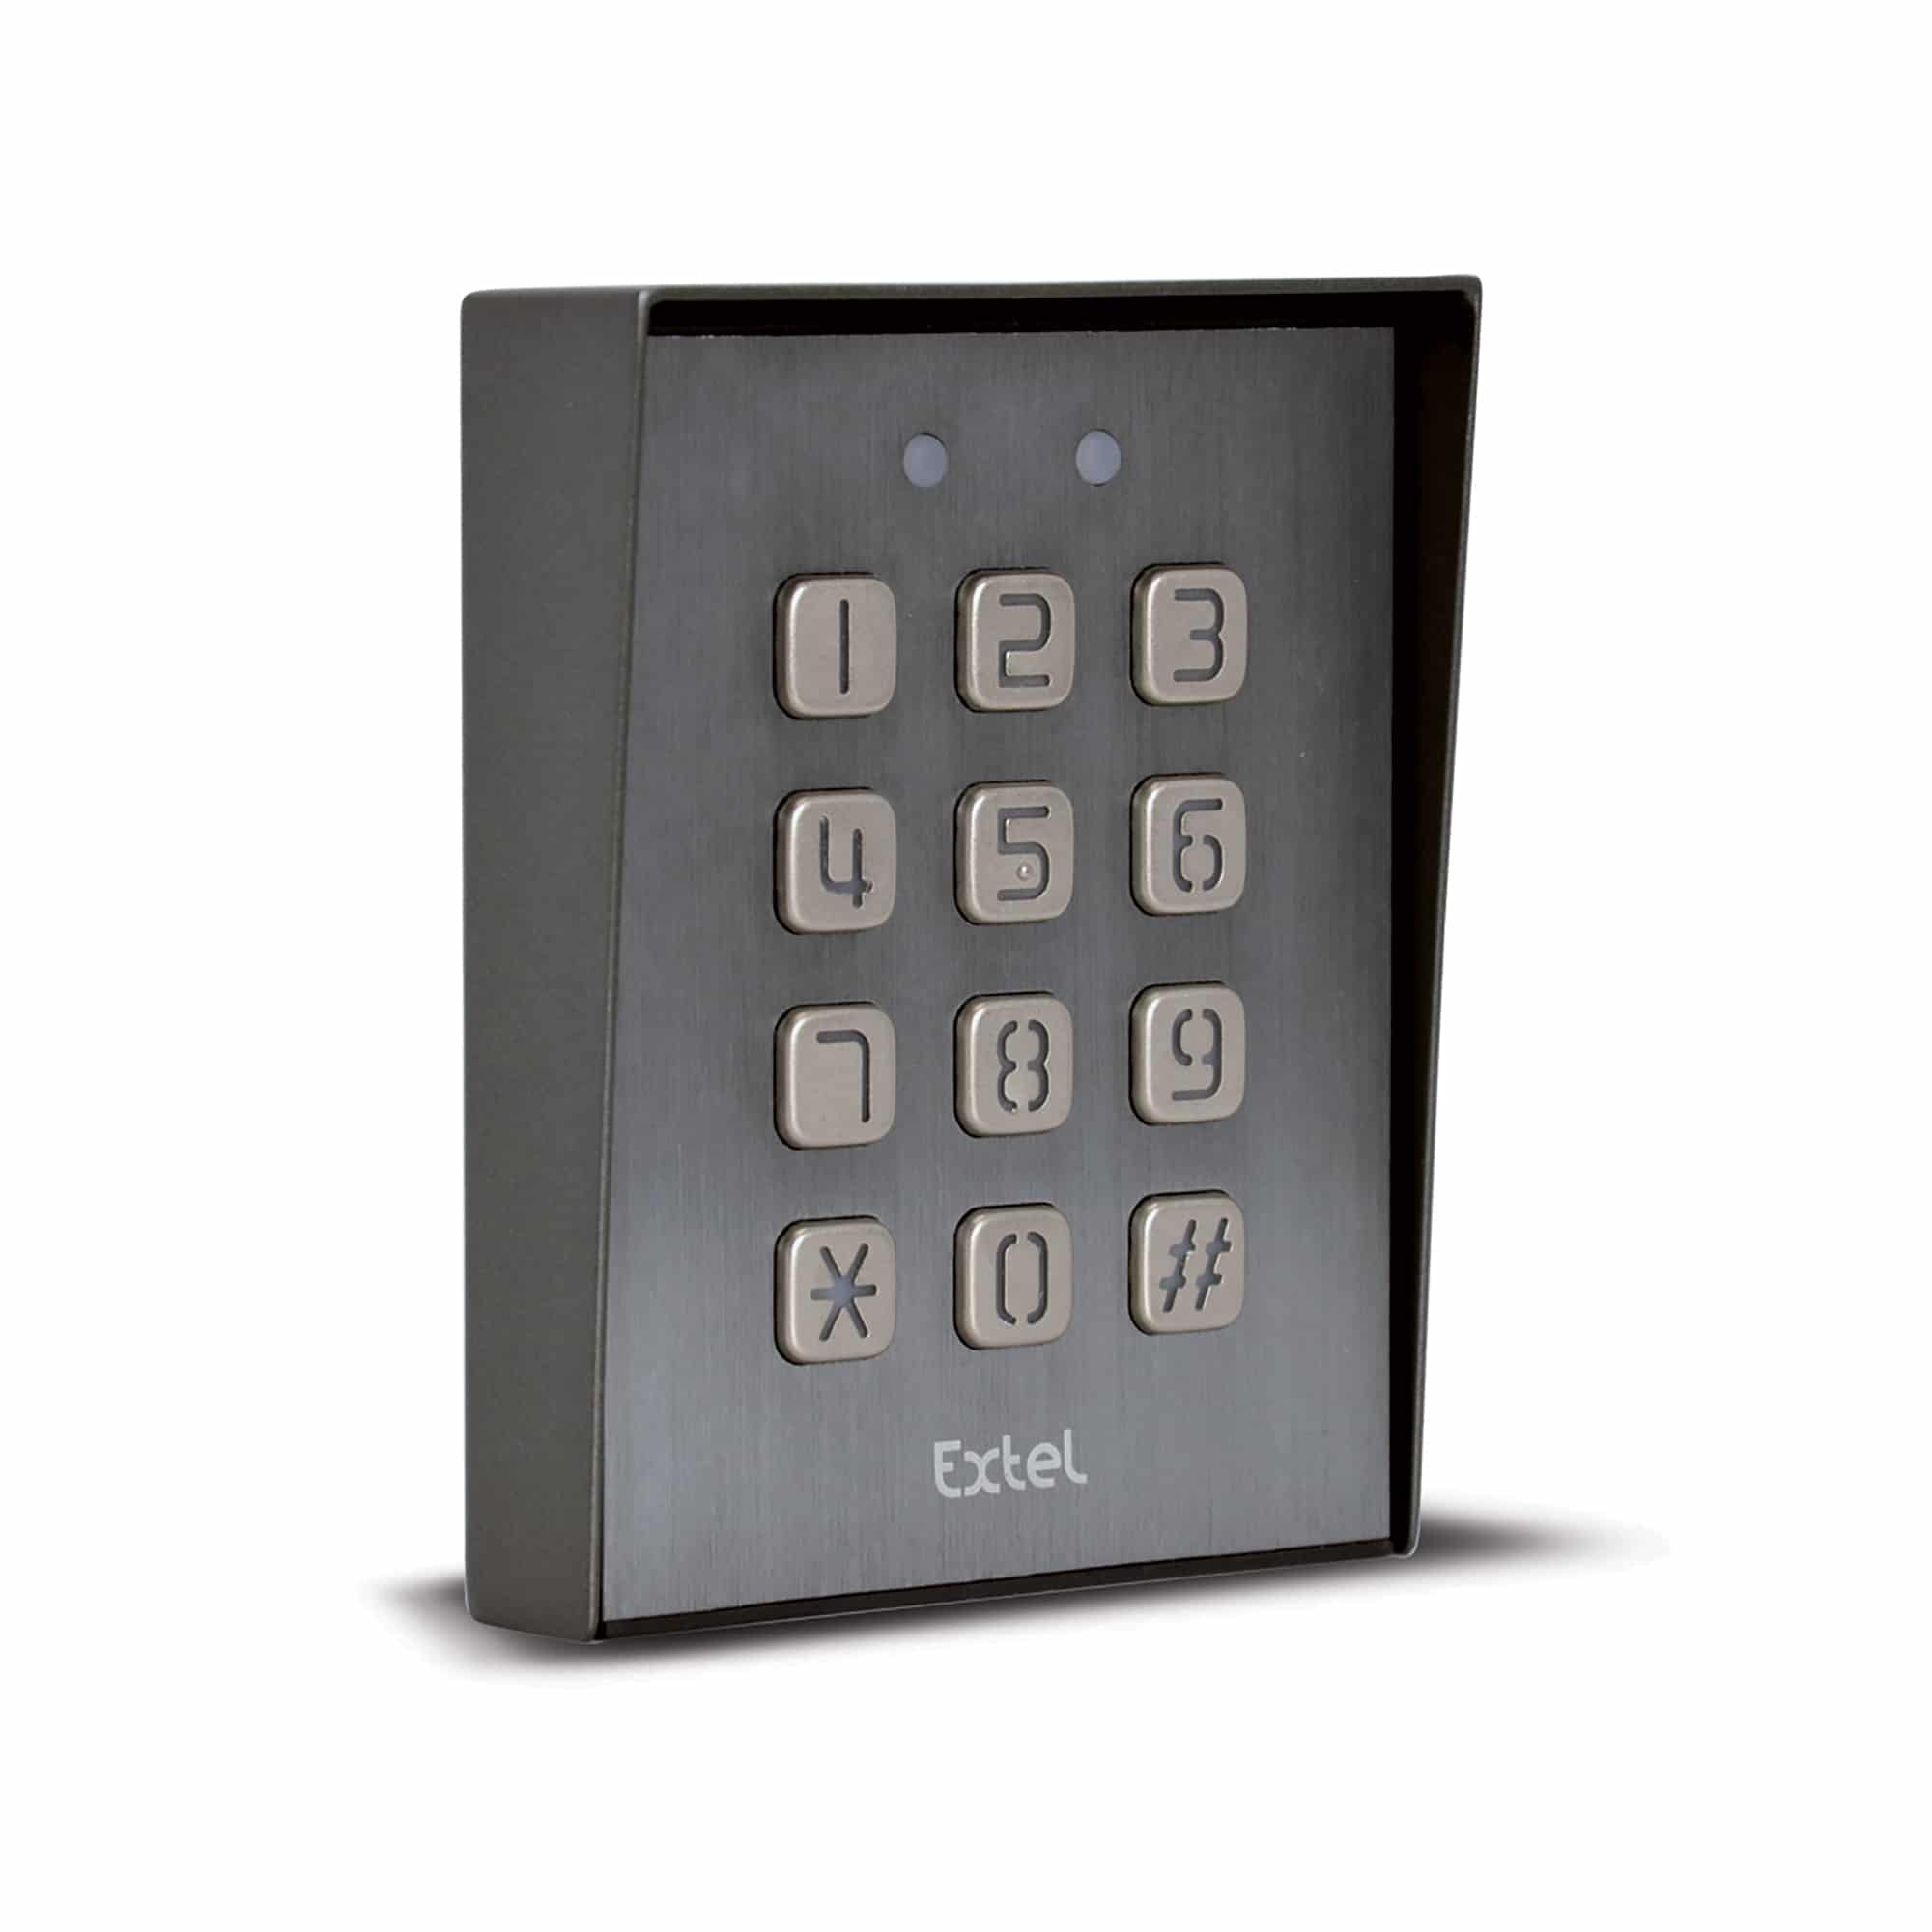
In this tutorial, we'll look at how to install an Extel Klavy3 wired keypad.
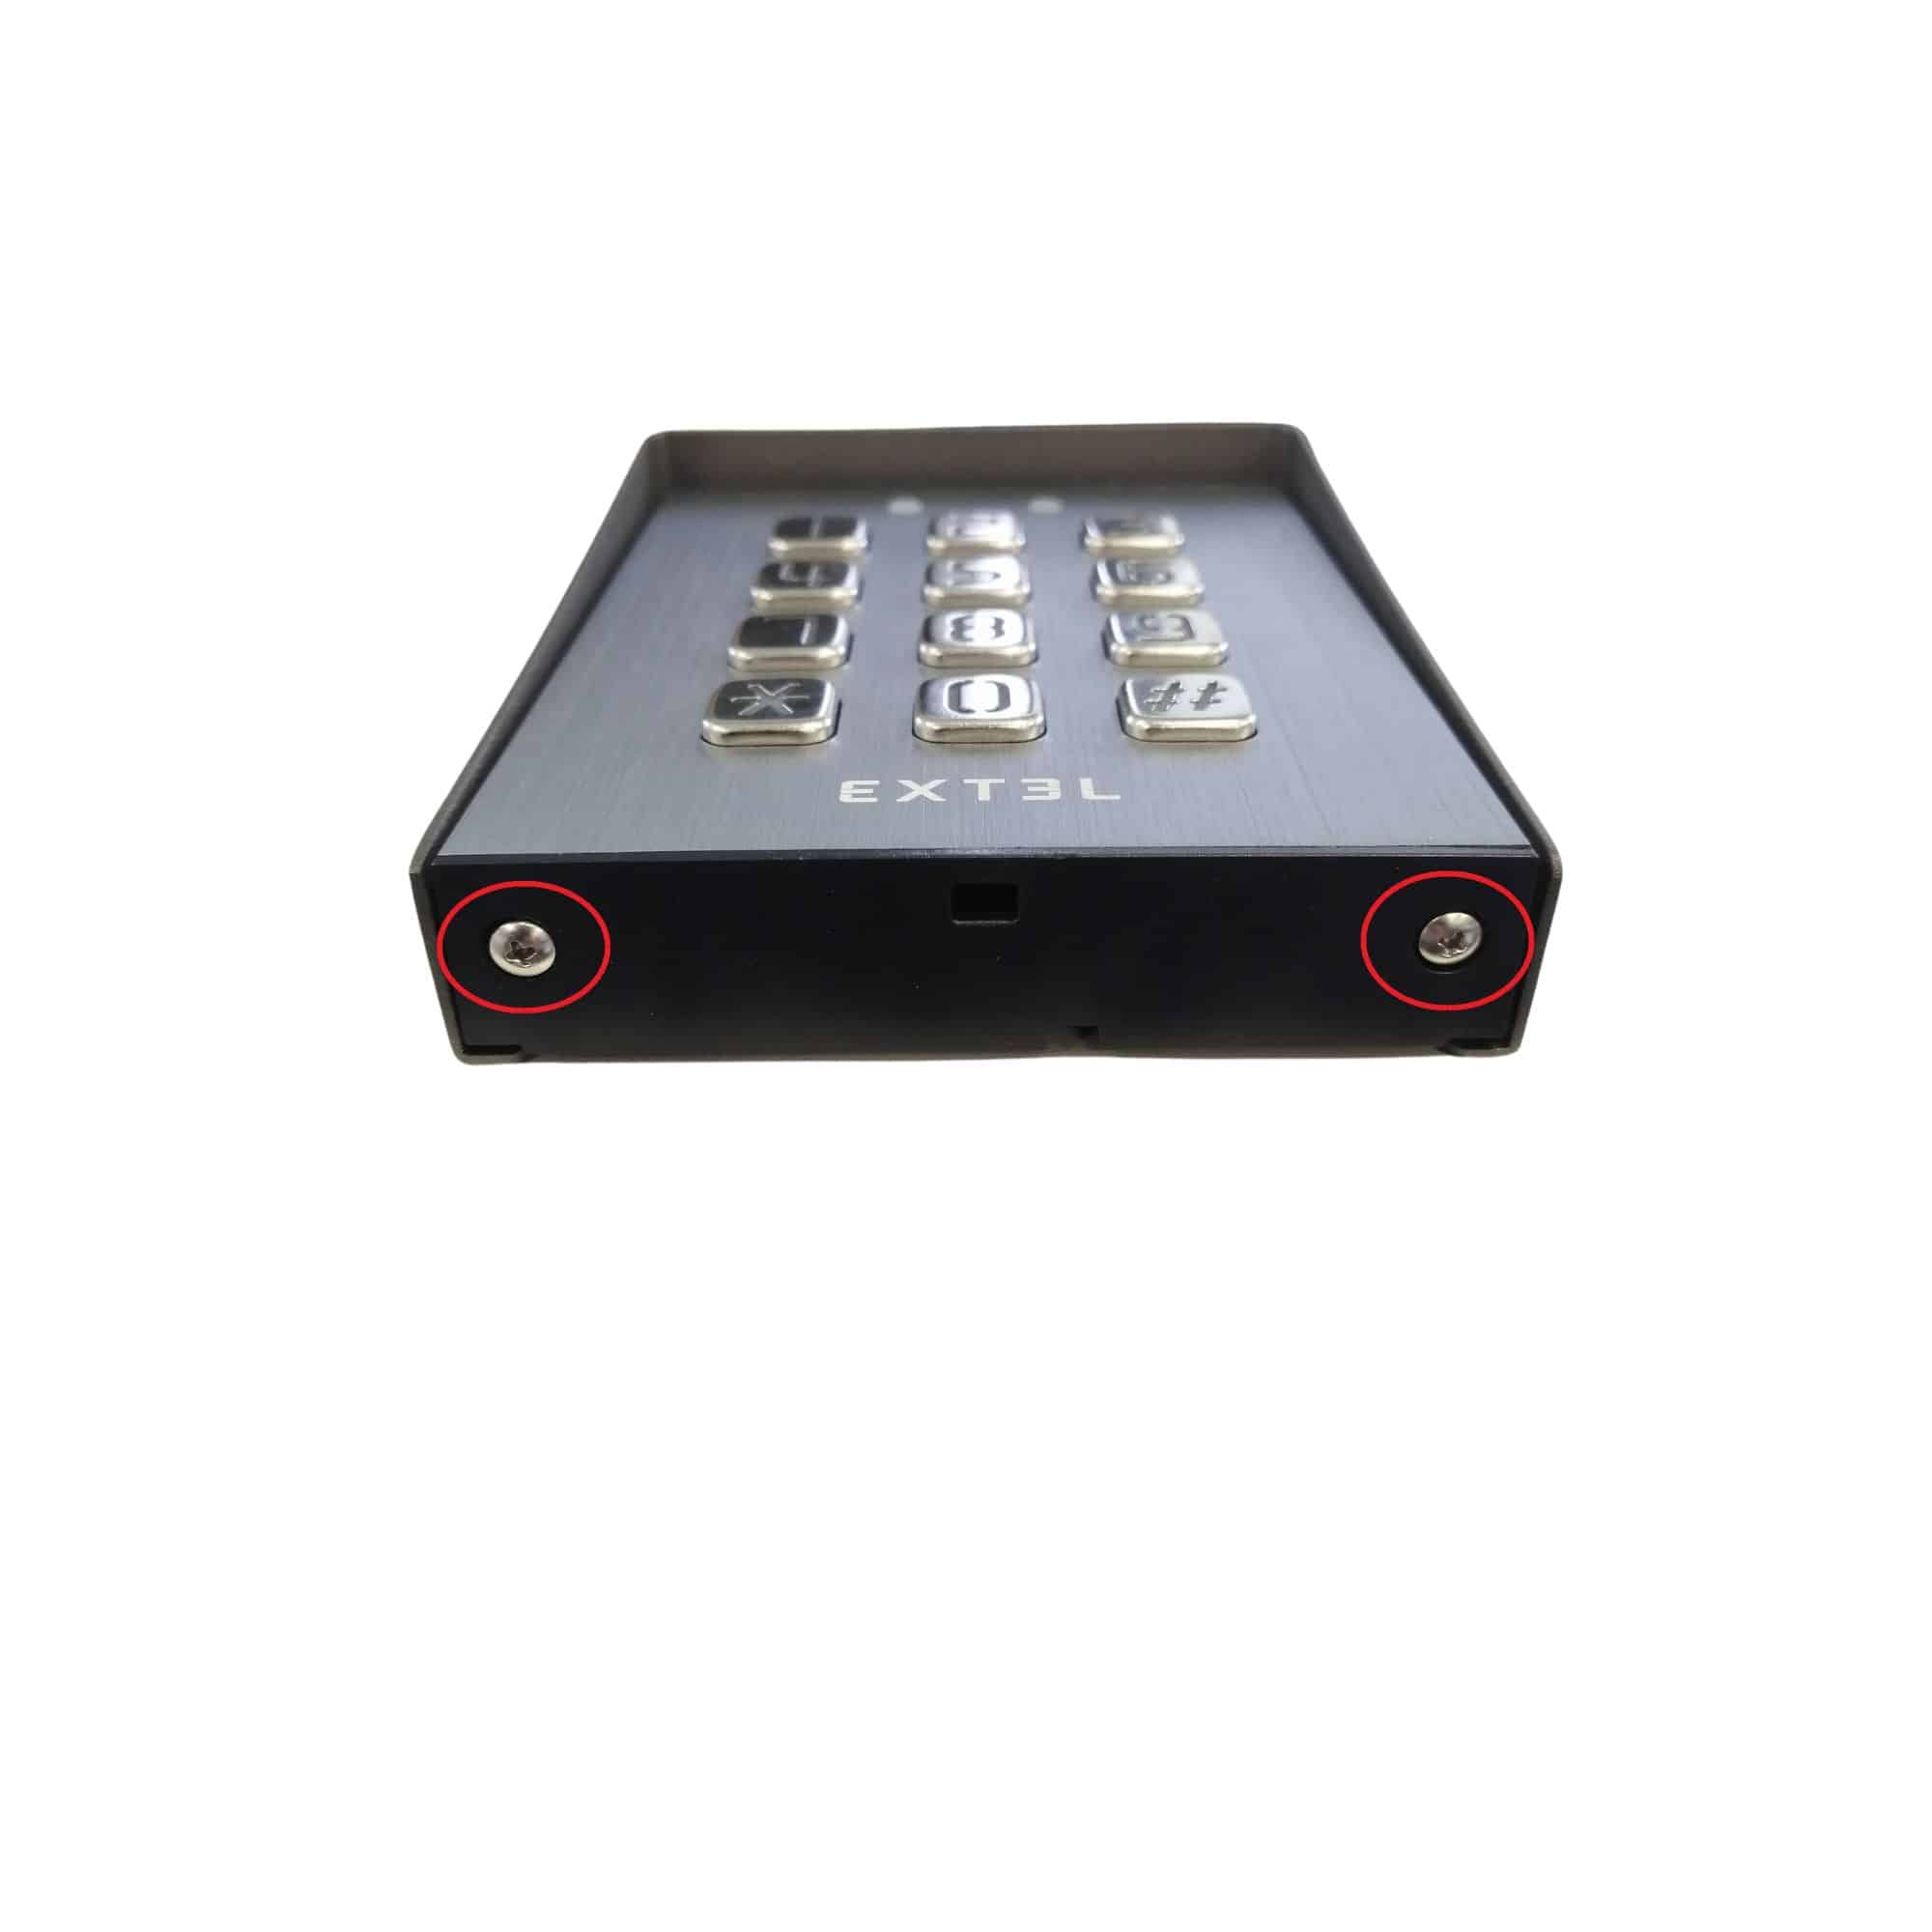
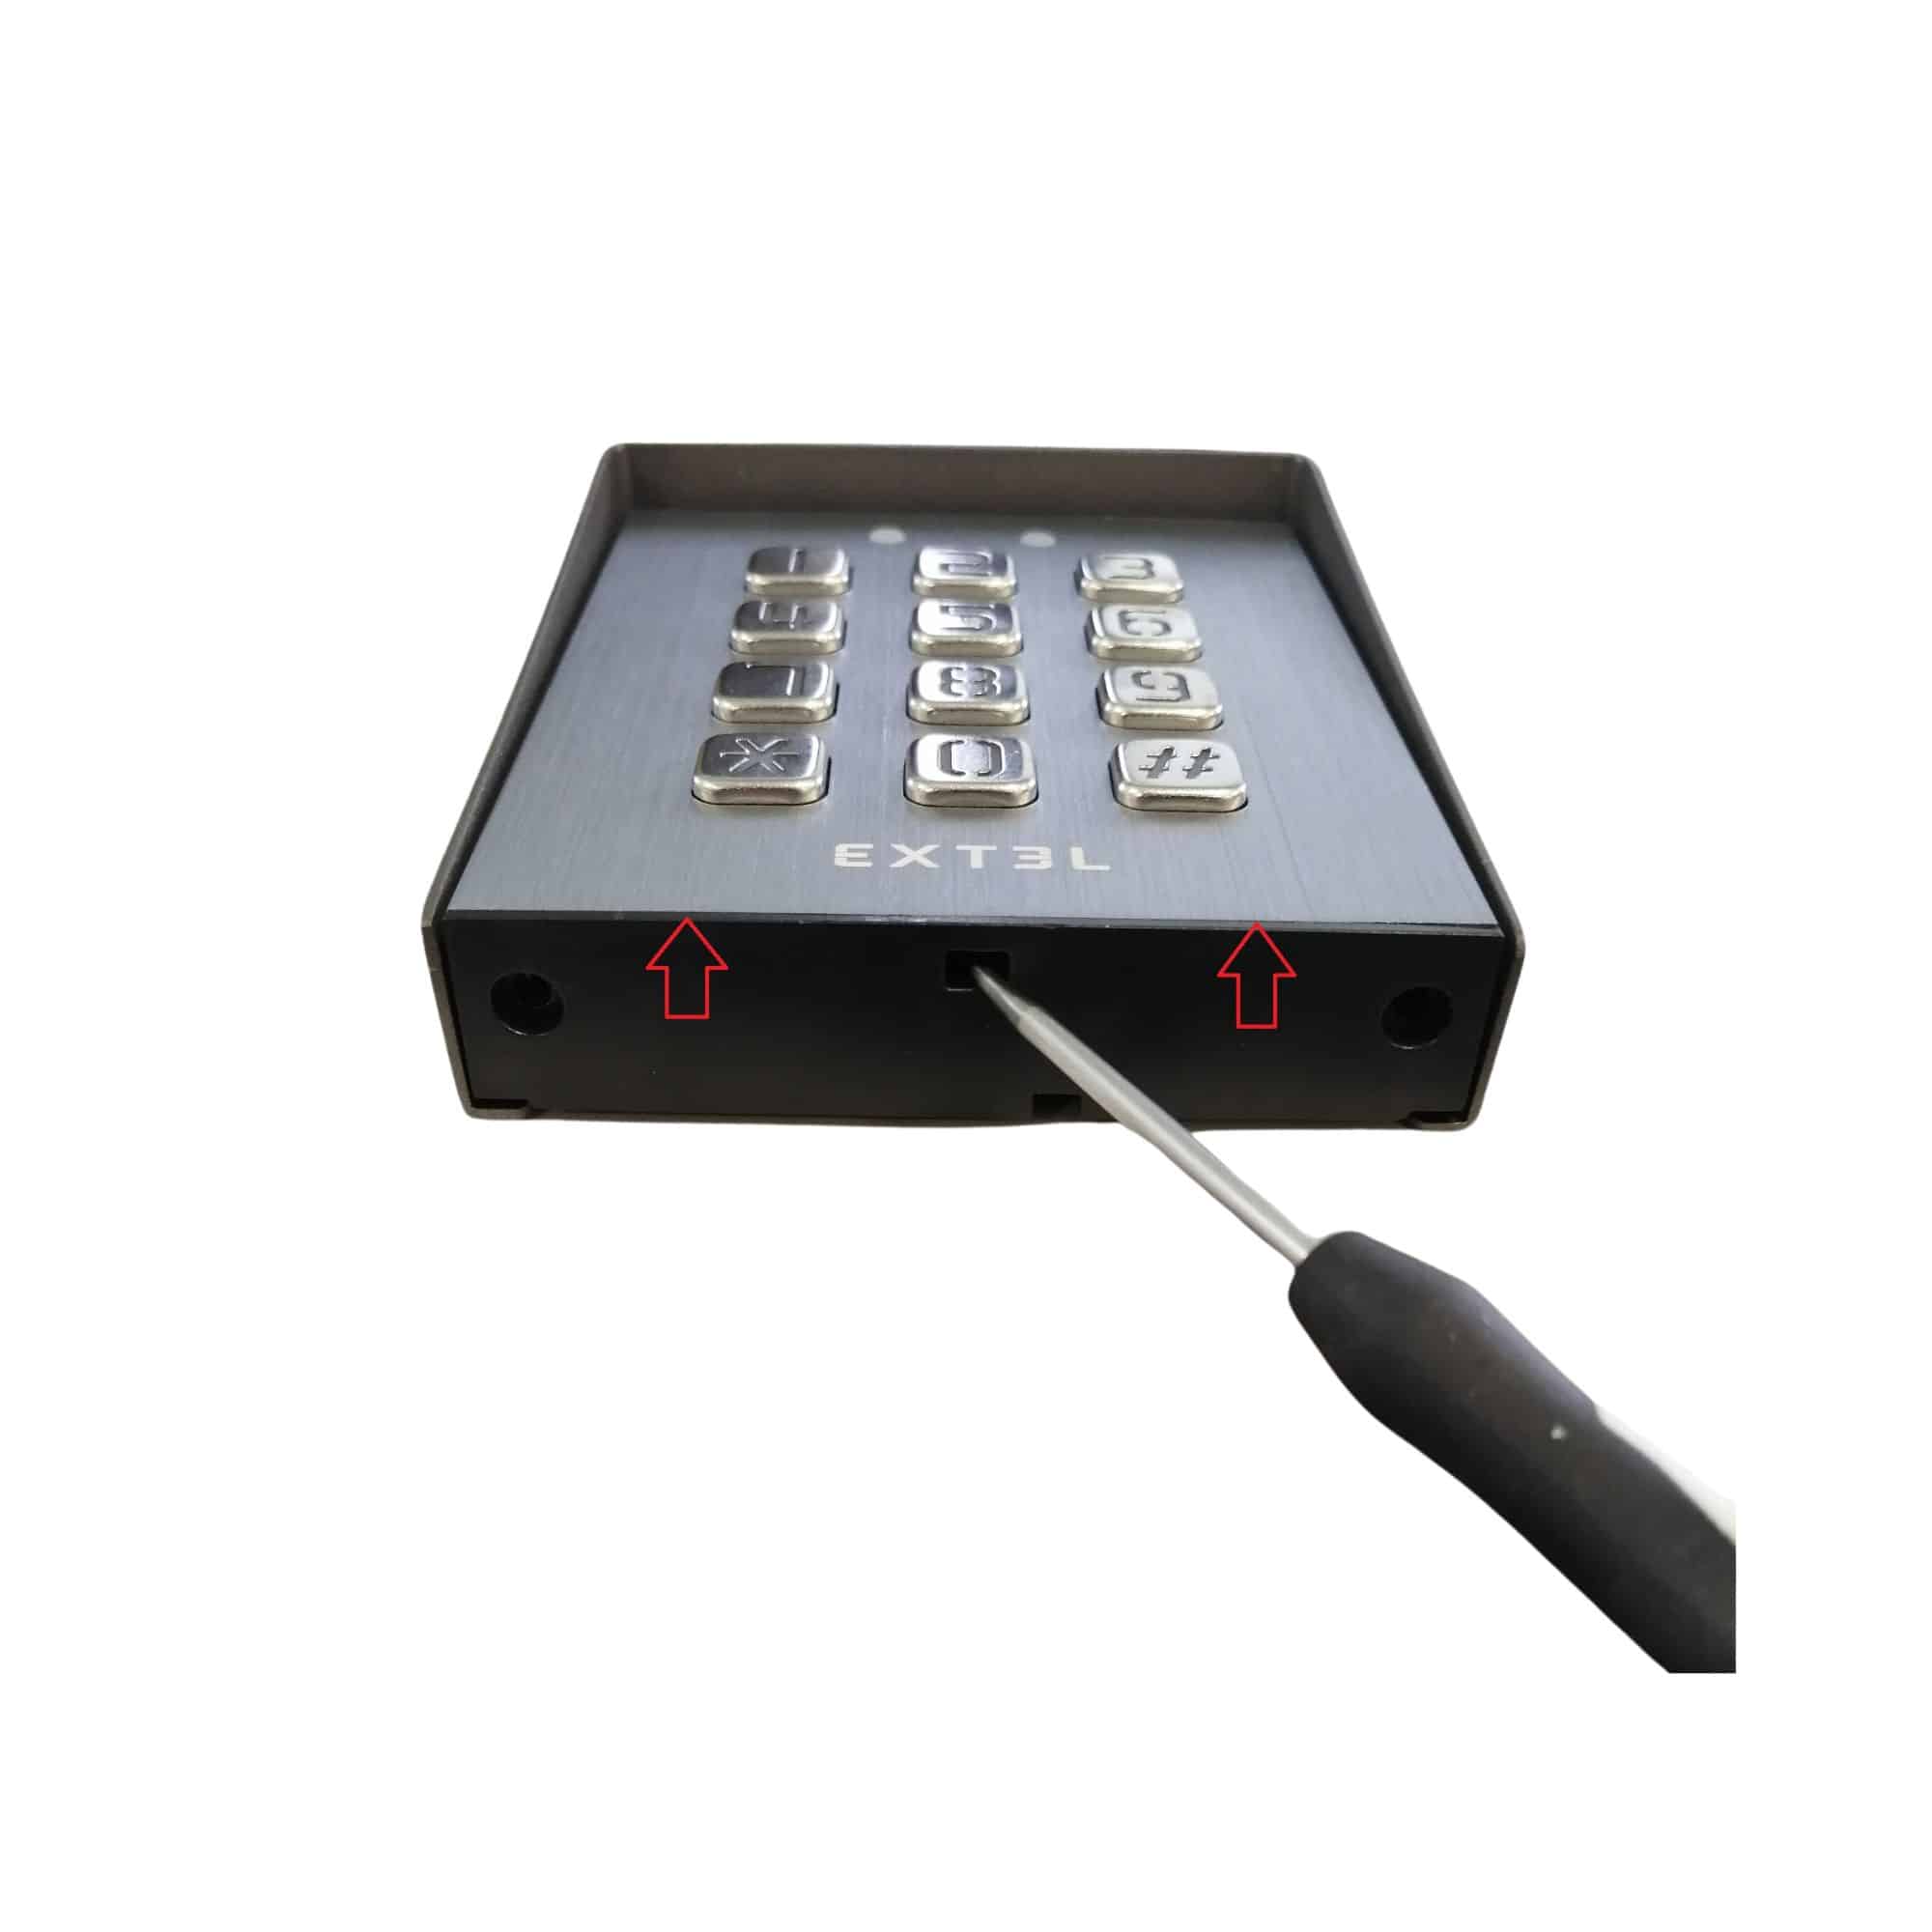
Locate the two screws on the underside of the keyboard.
Unscrew the two screws.
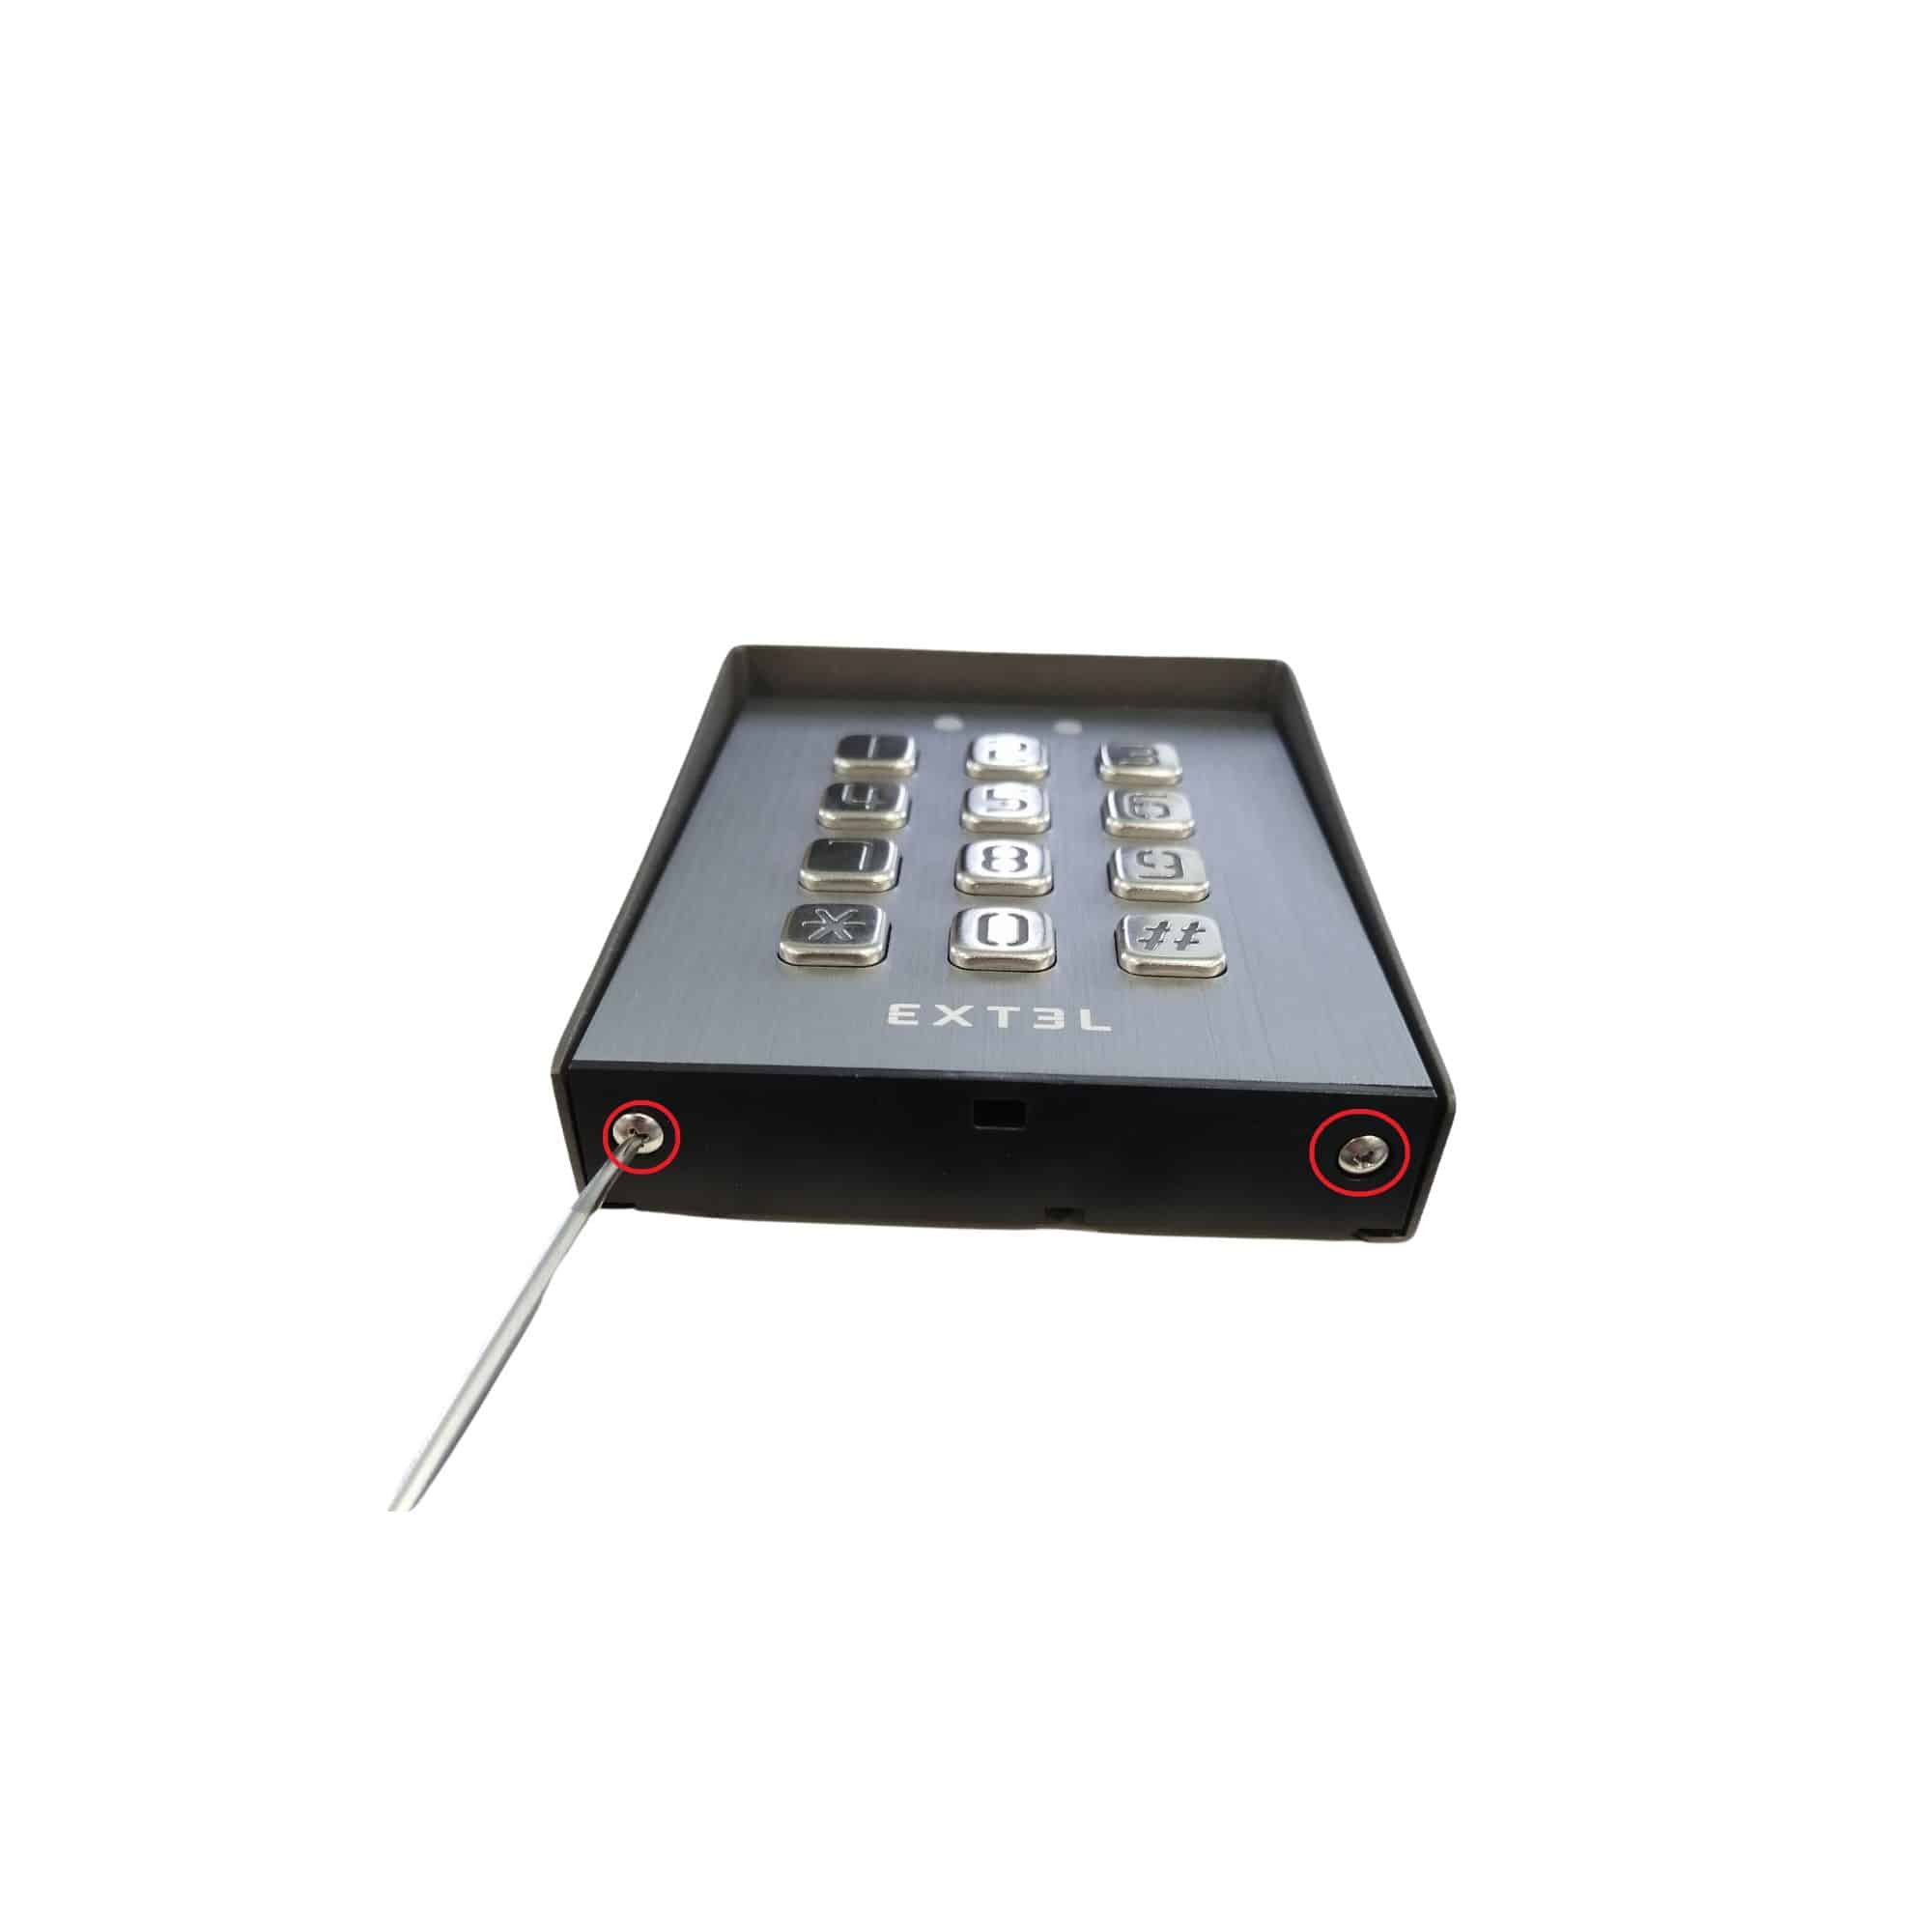
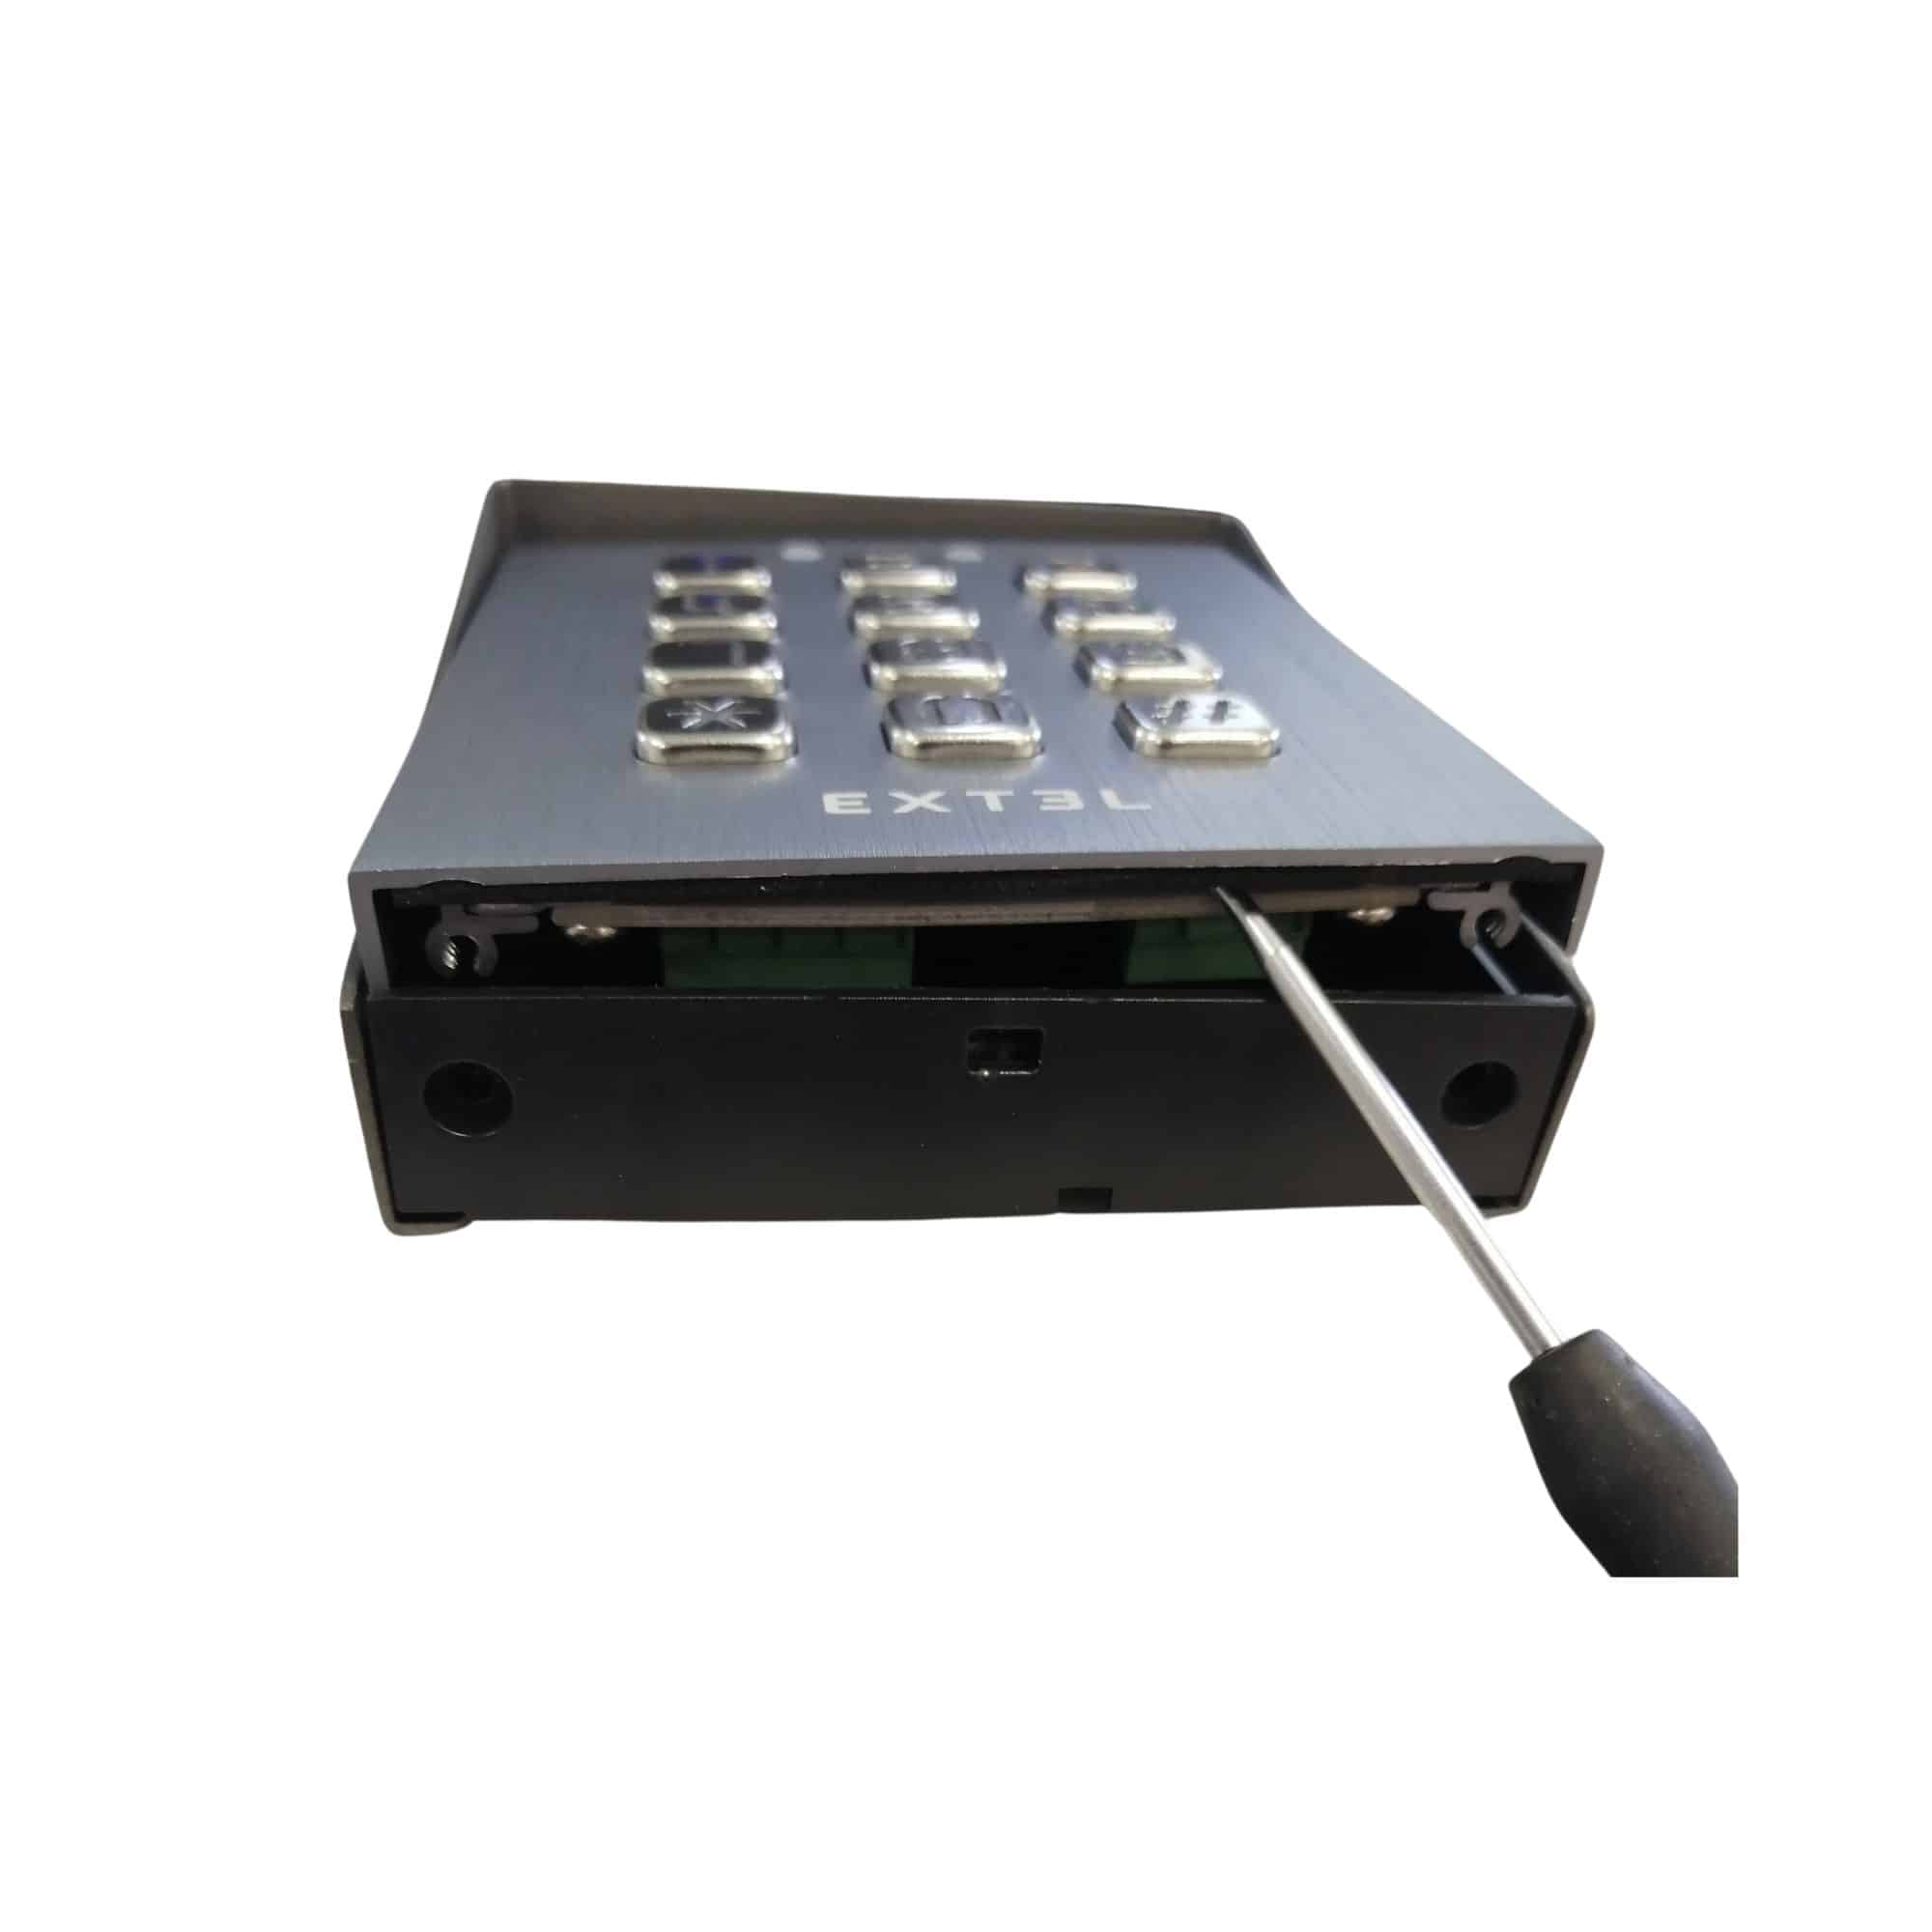
Insert a screwdriver into the hole under the keyboard and lever upwards.
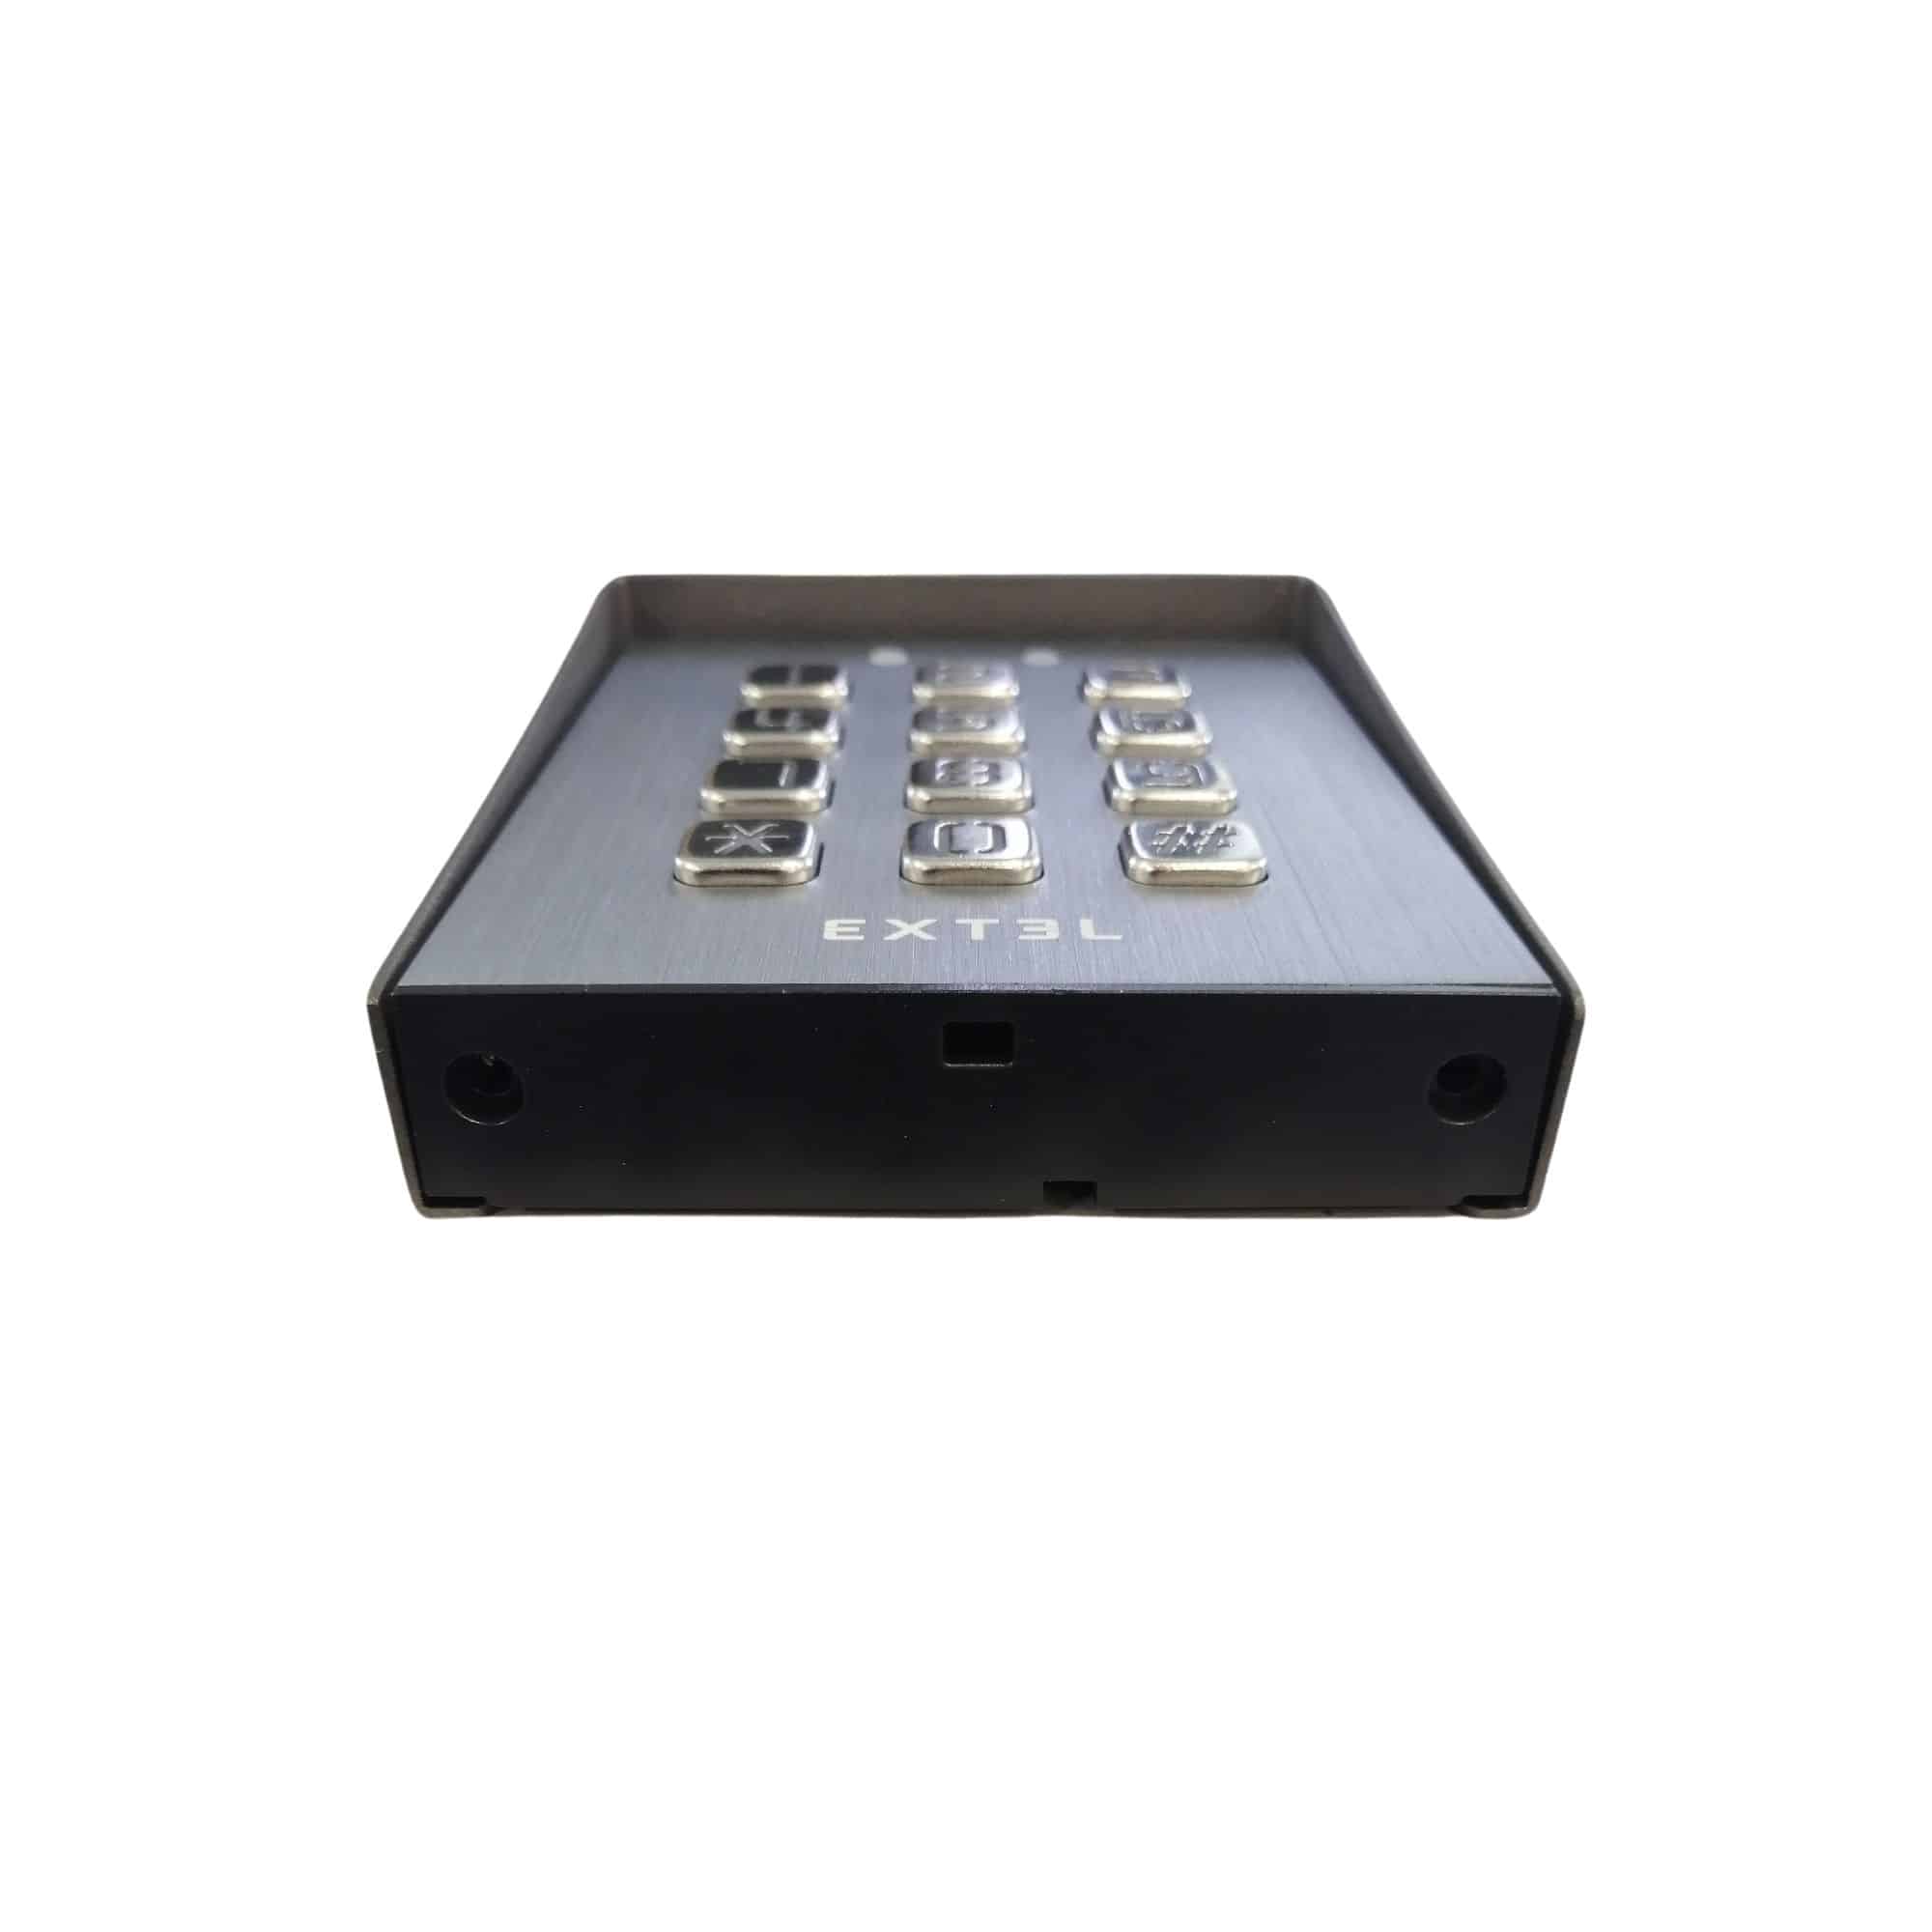
Separate the keyboard from its mounting.
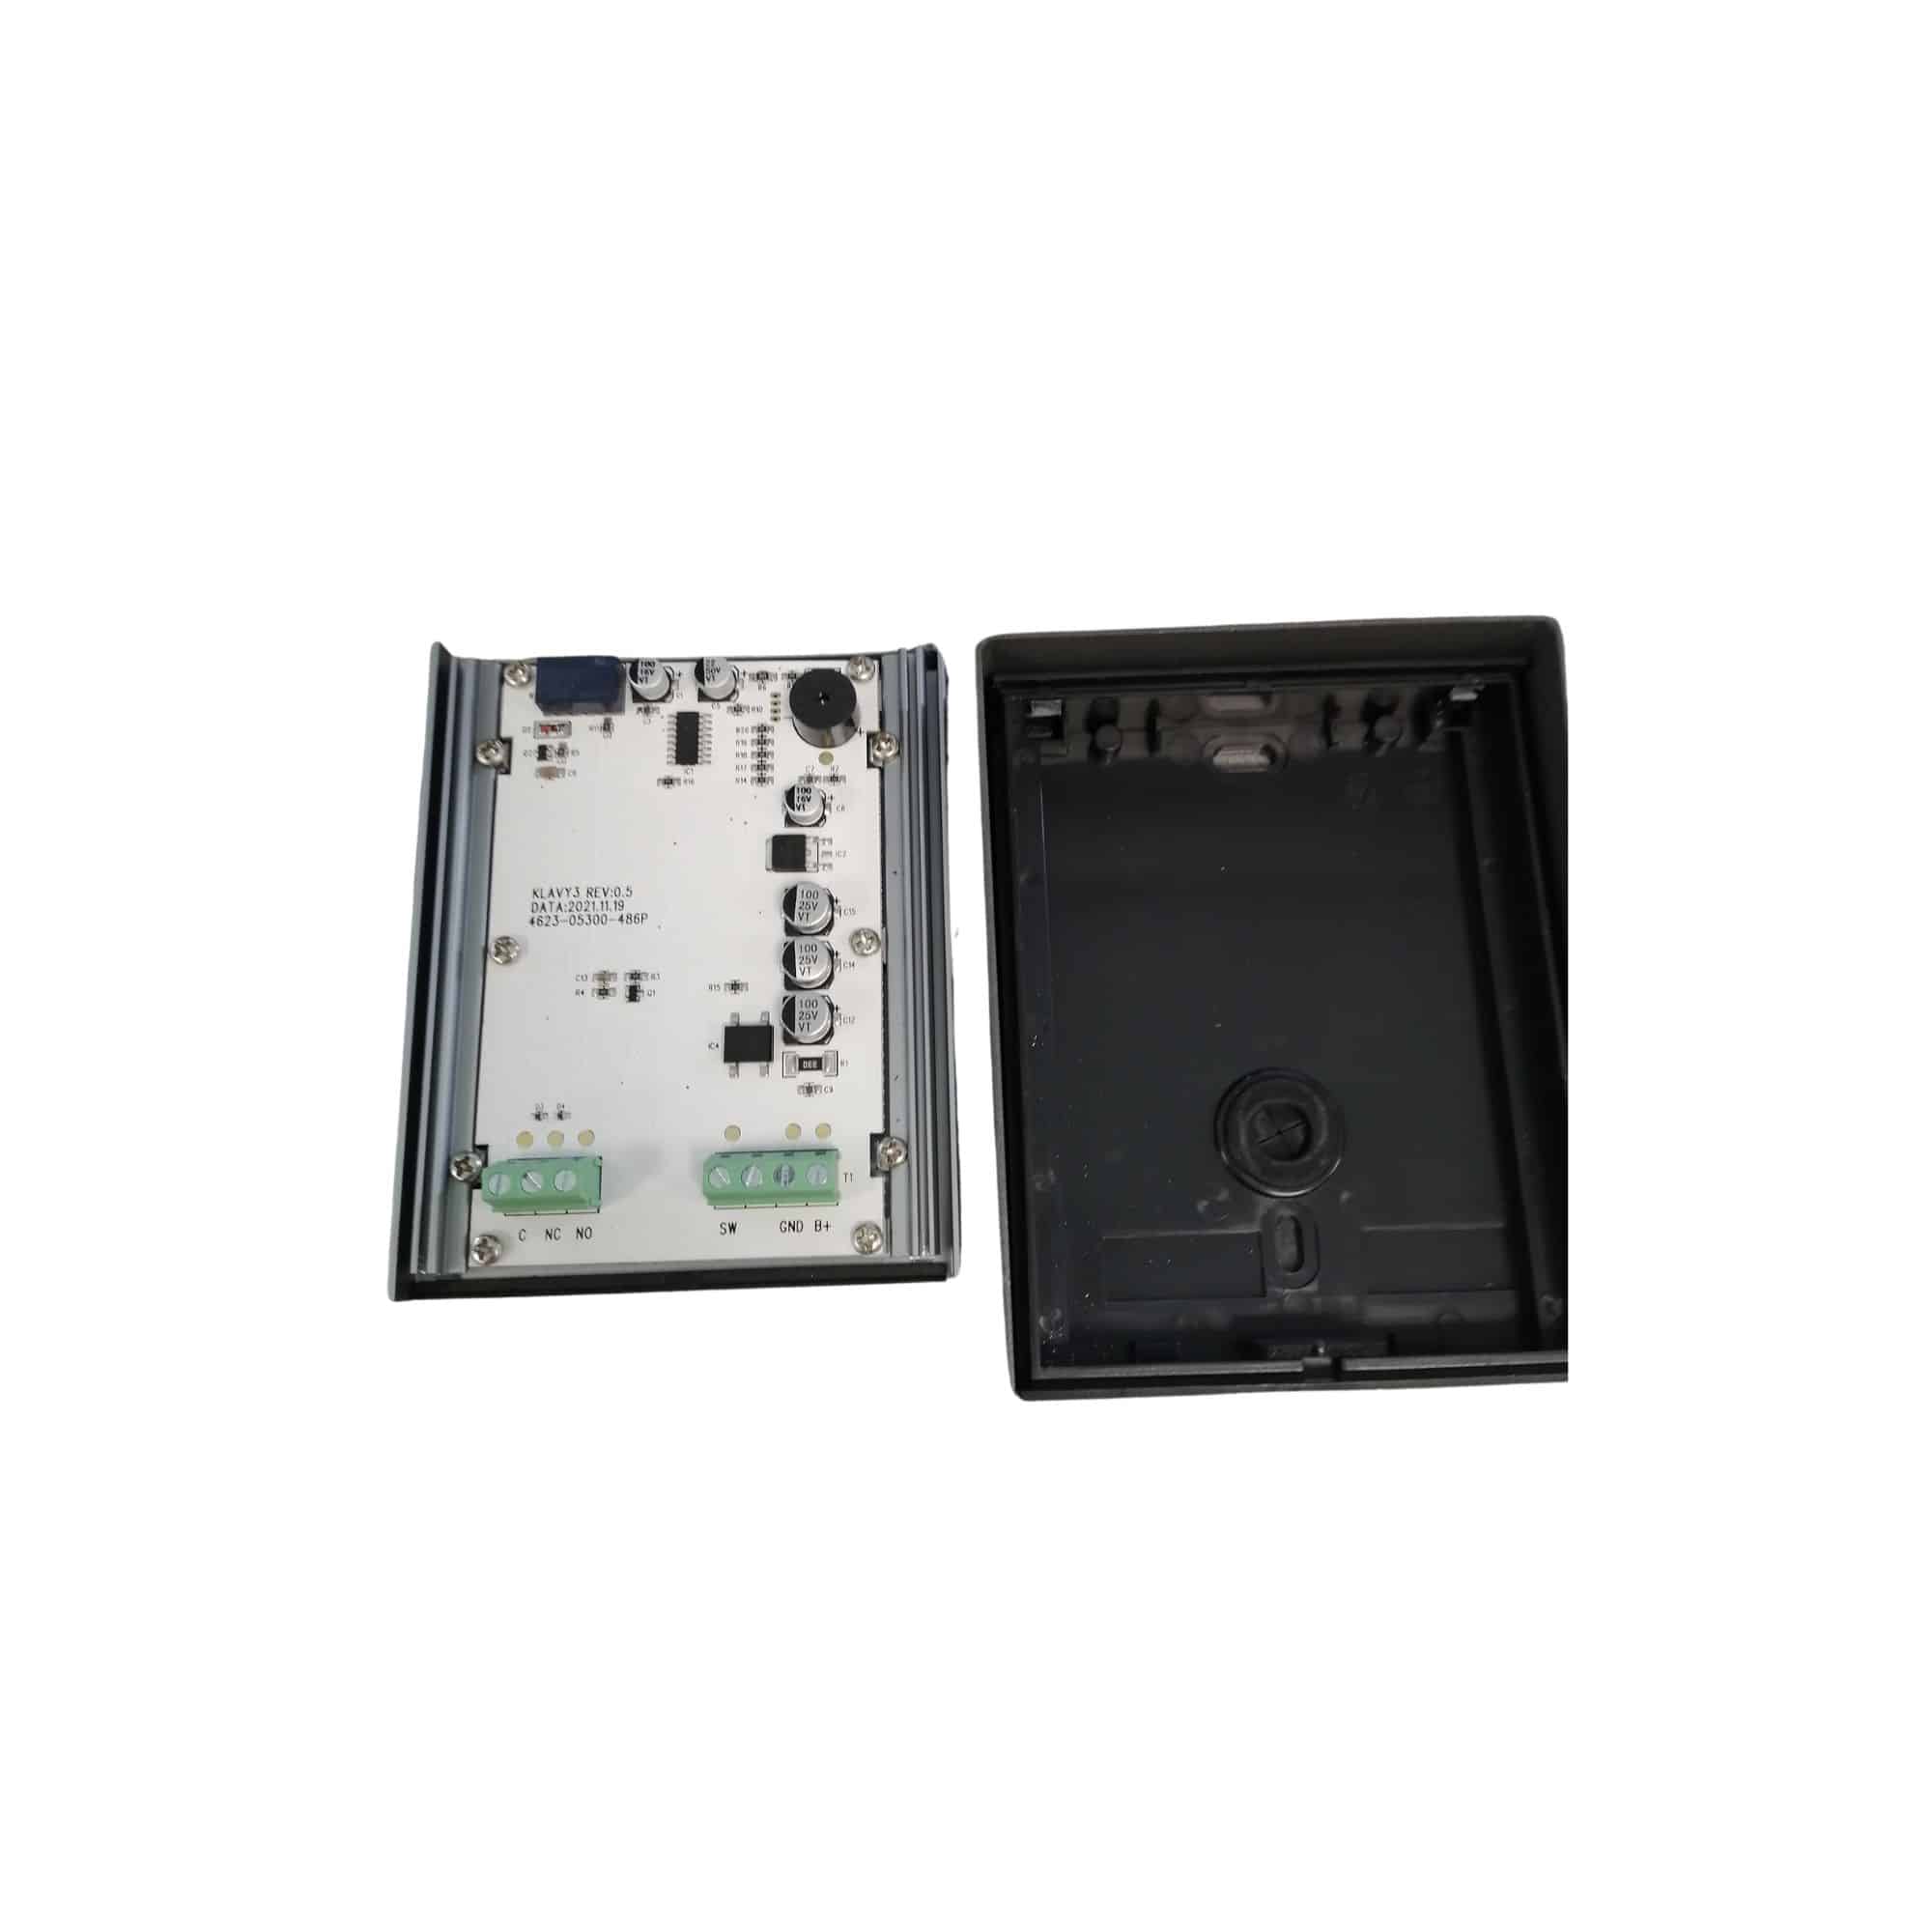
Retrieve both elements.
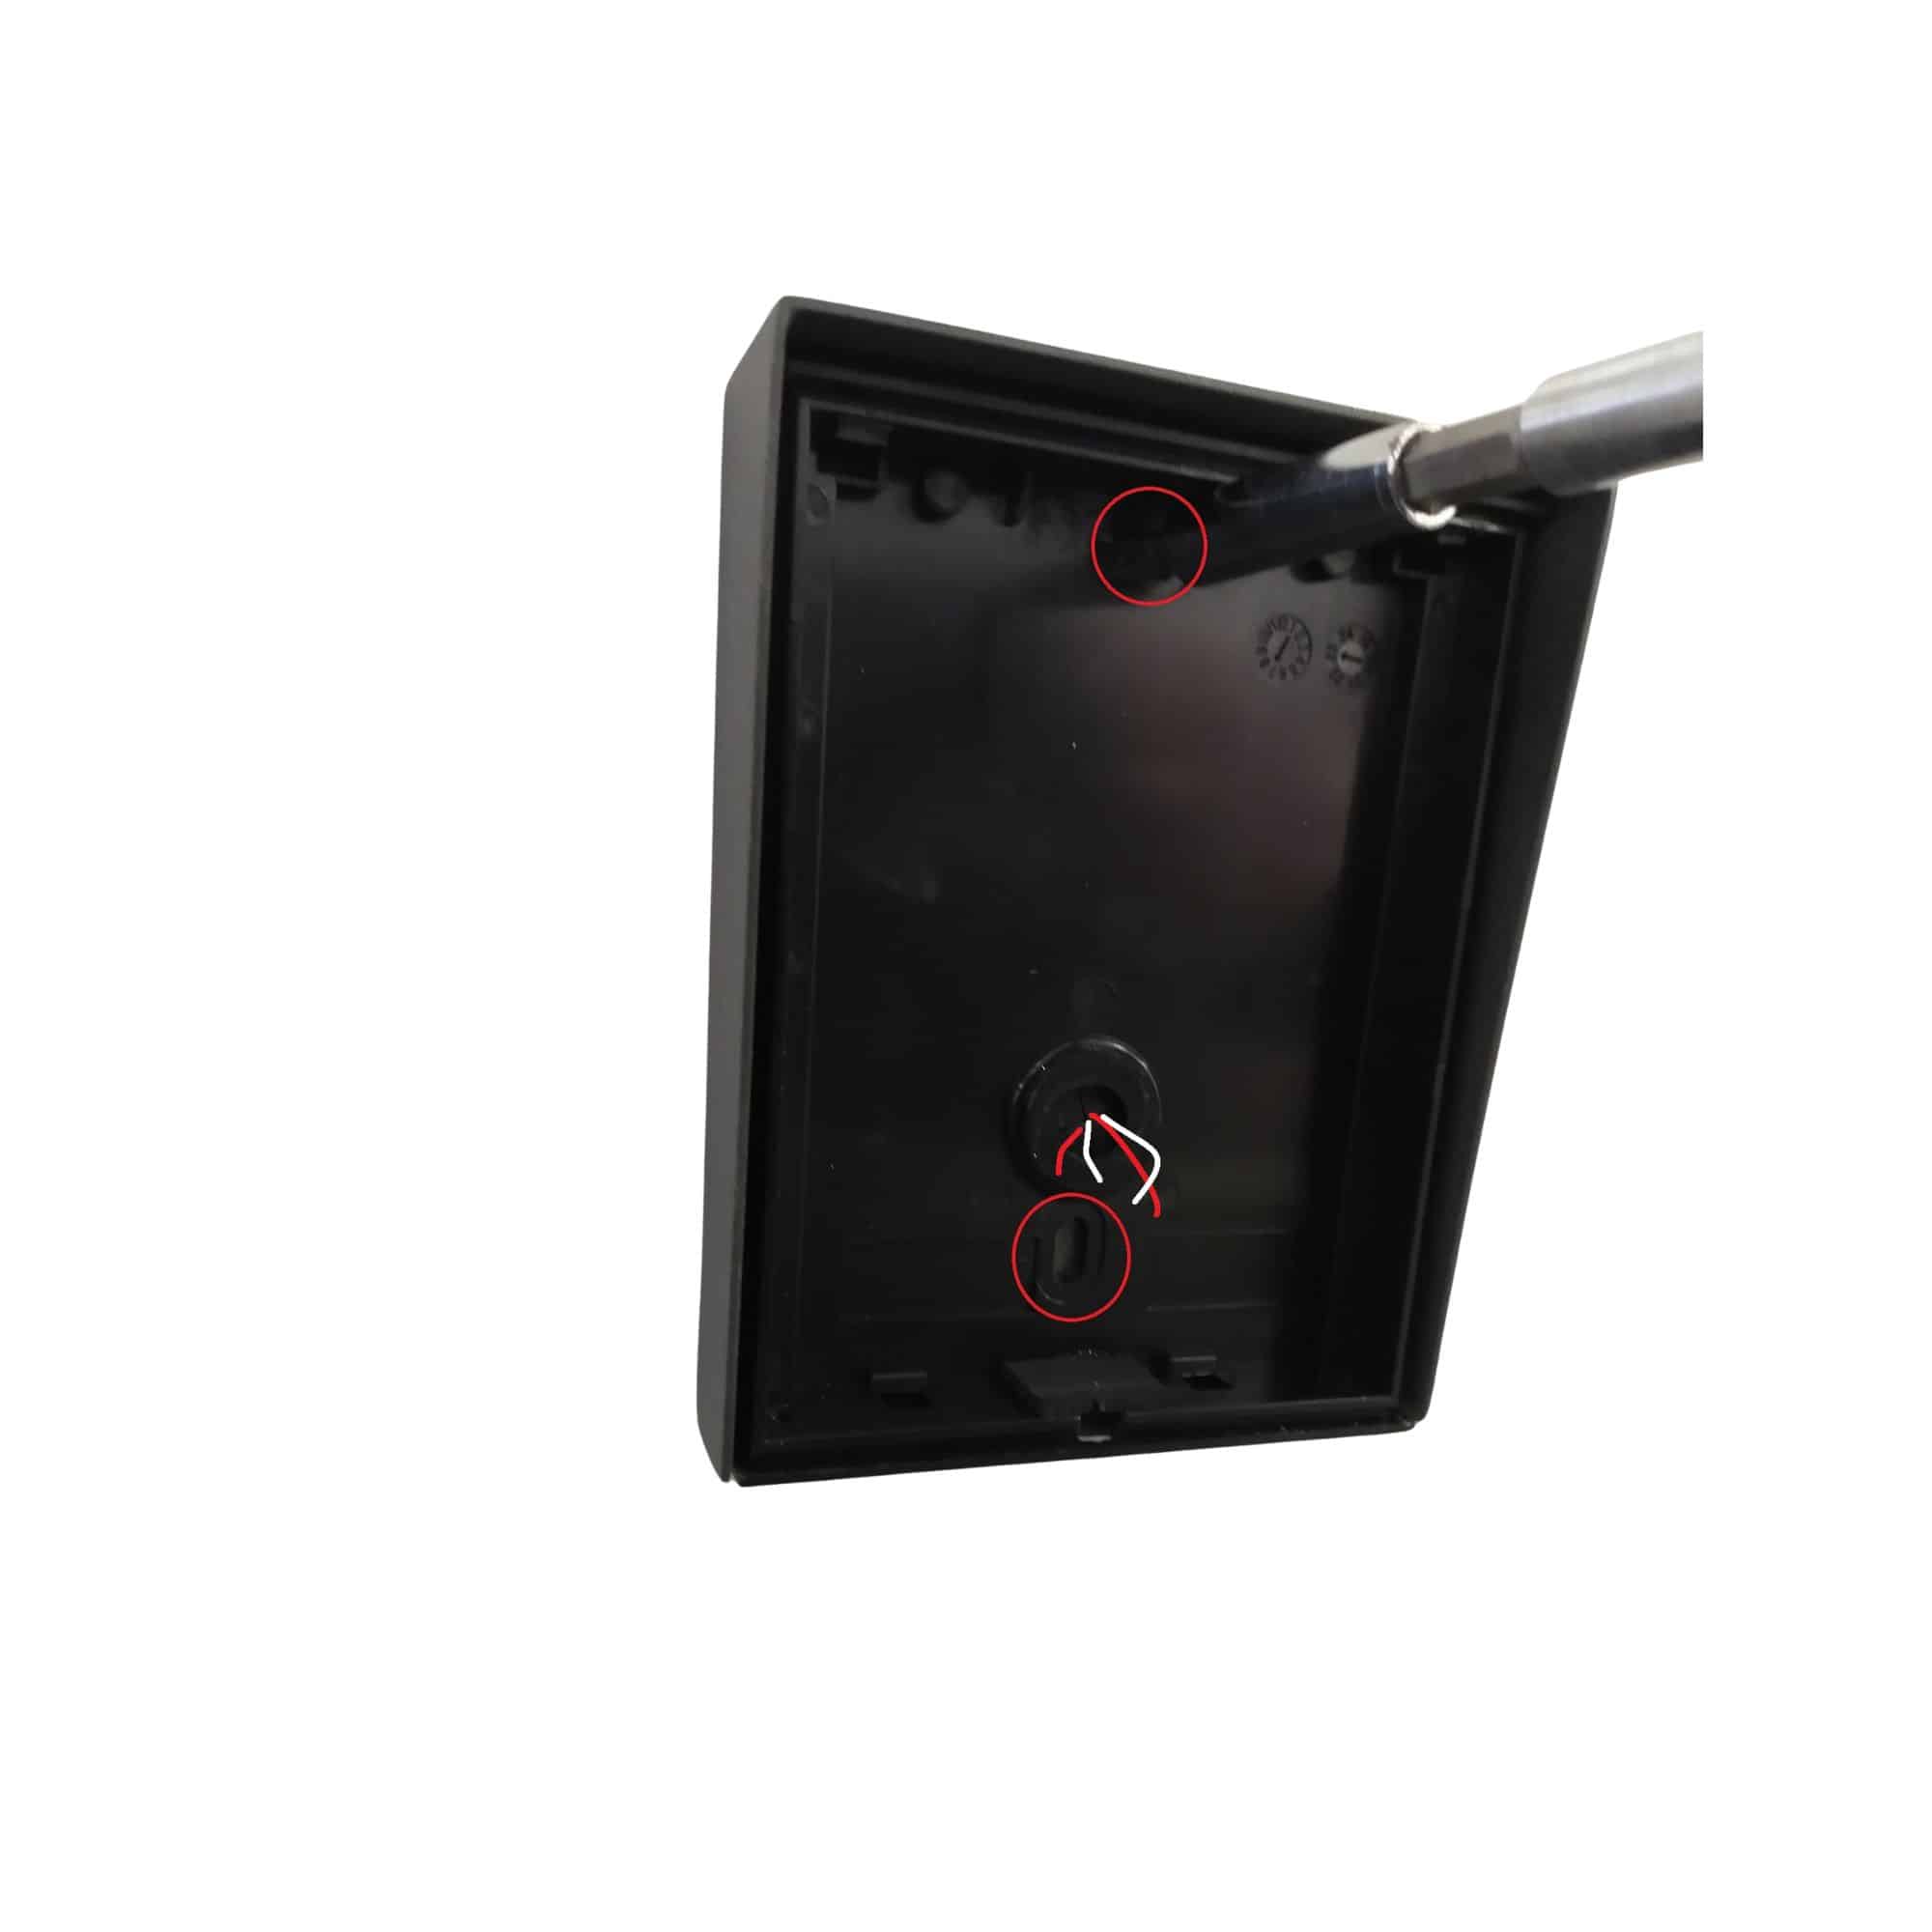
Locate the fixing holes.
Drill holes in the wall and screw in the bracket.
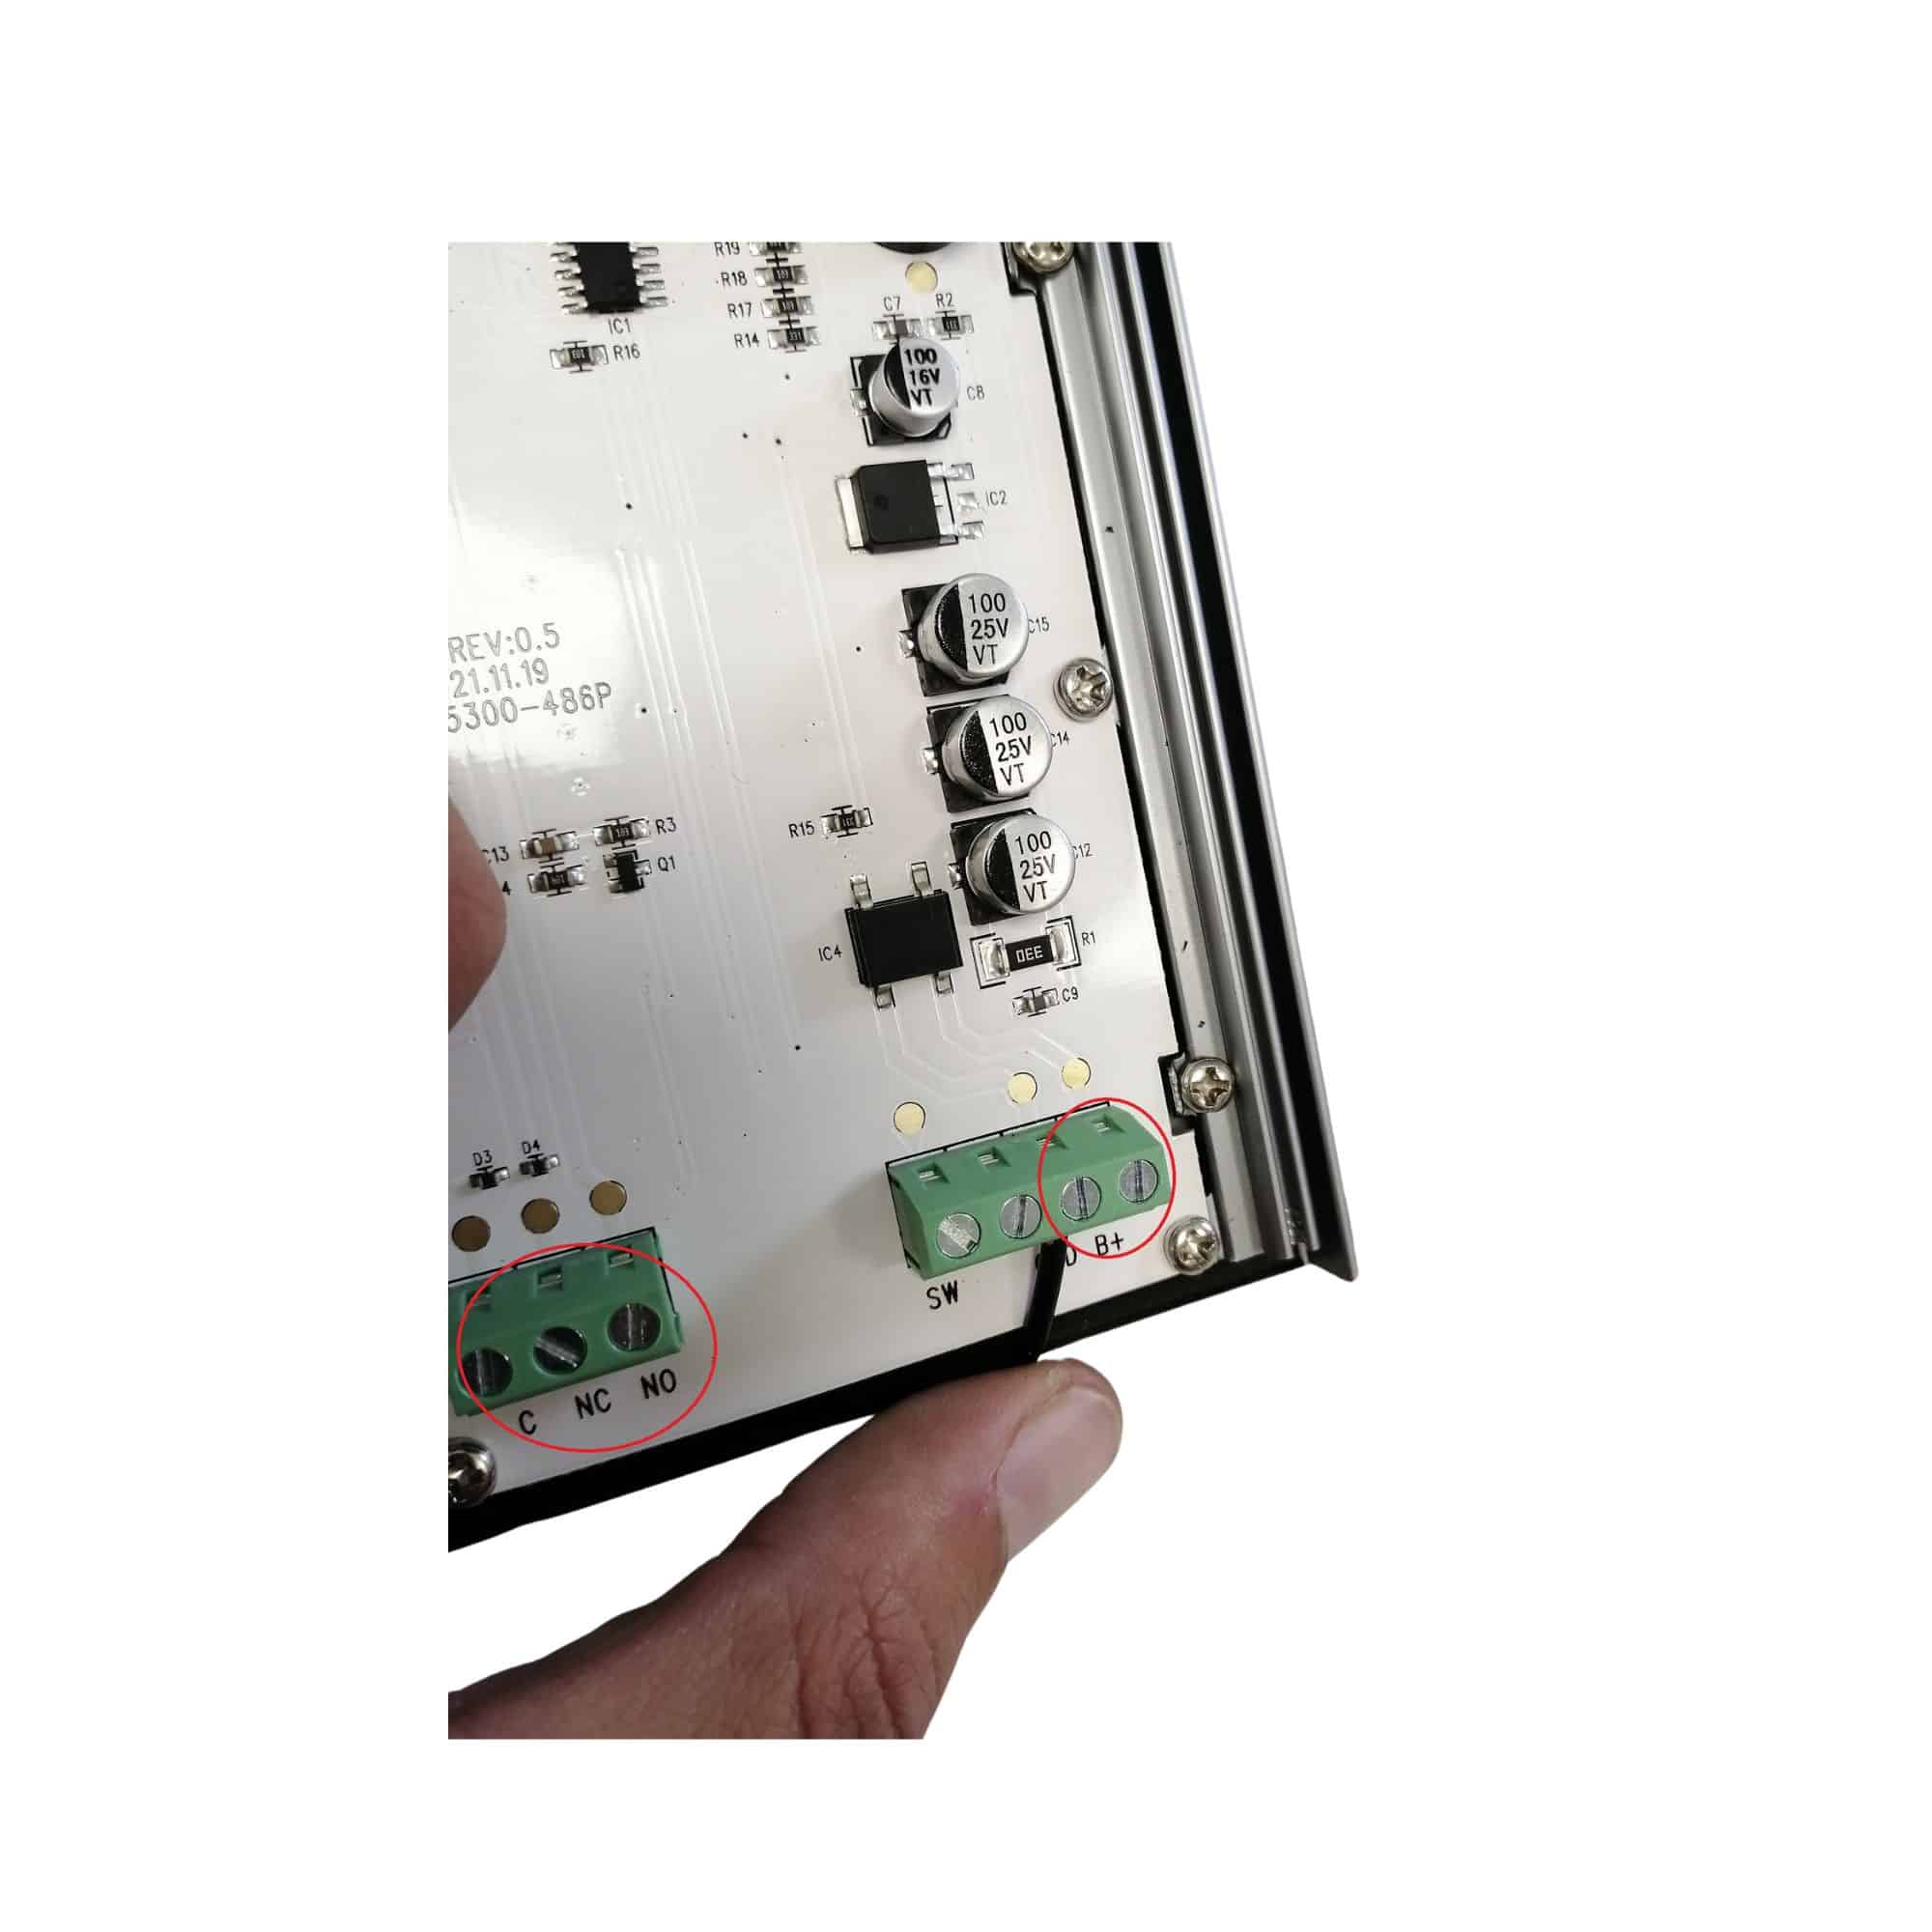
Connect the power supply and the device to be controlled from the keypad.
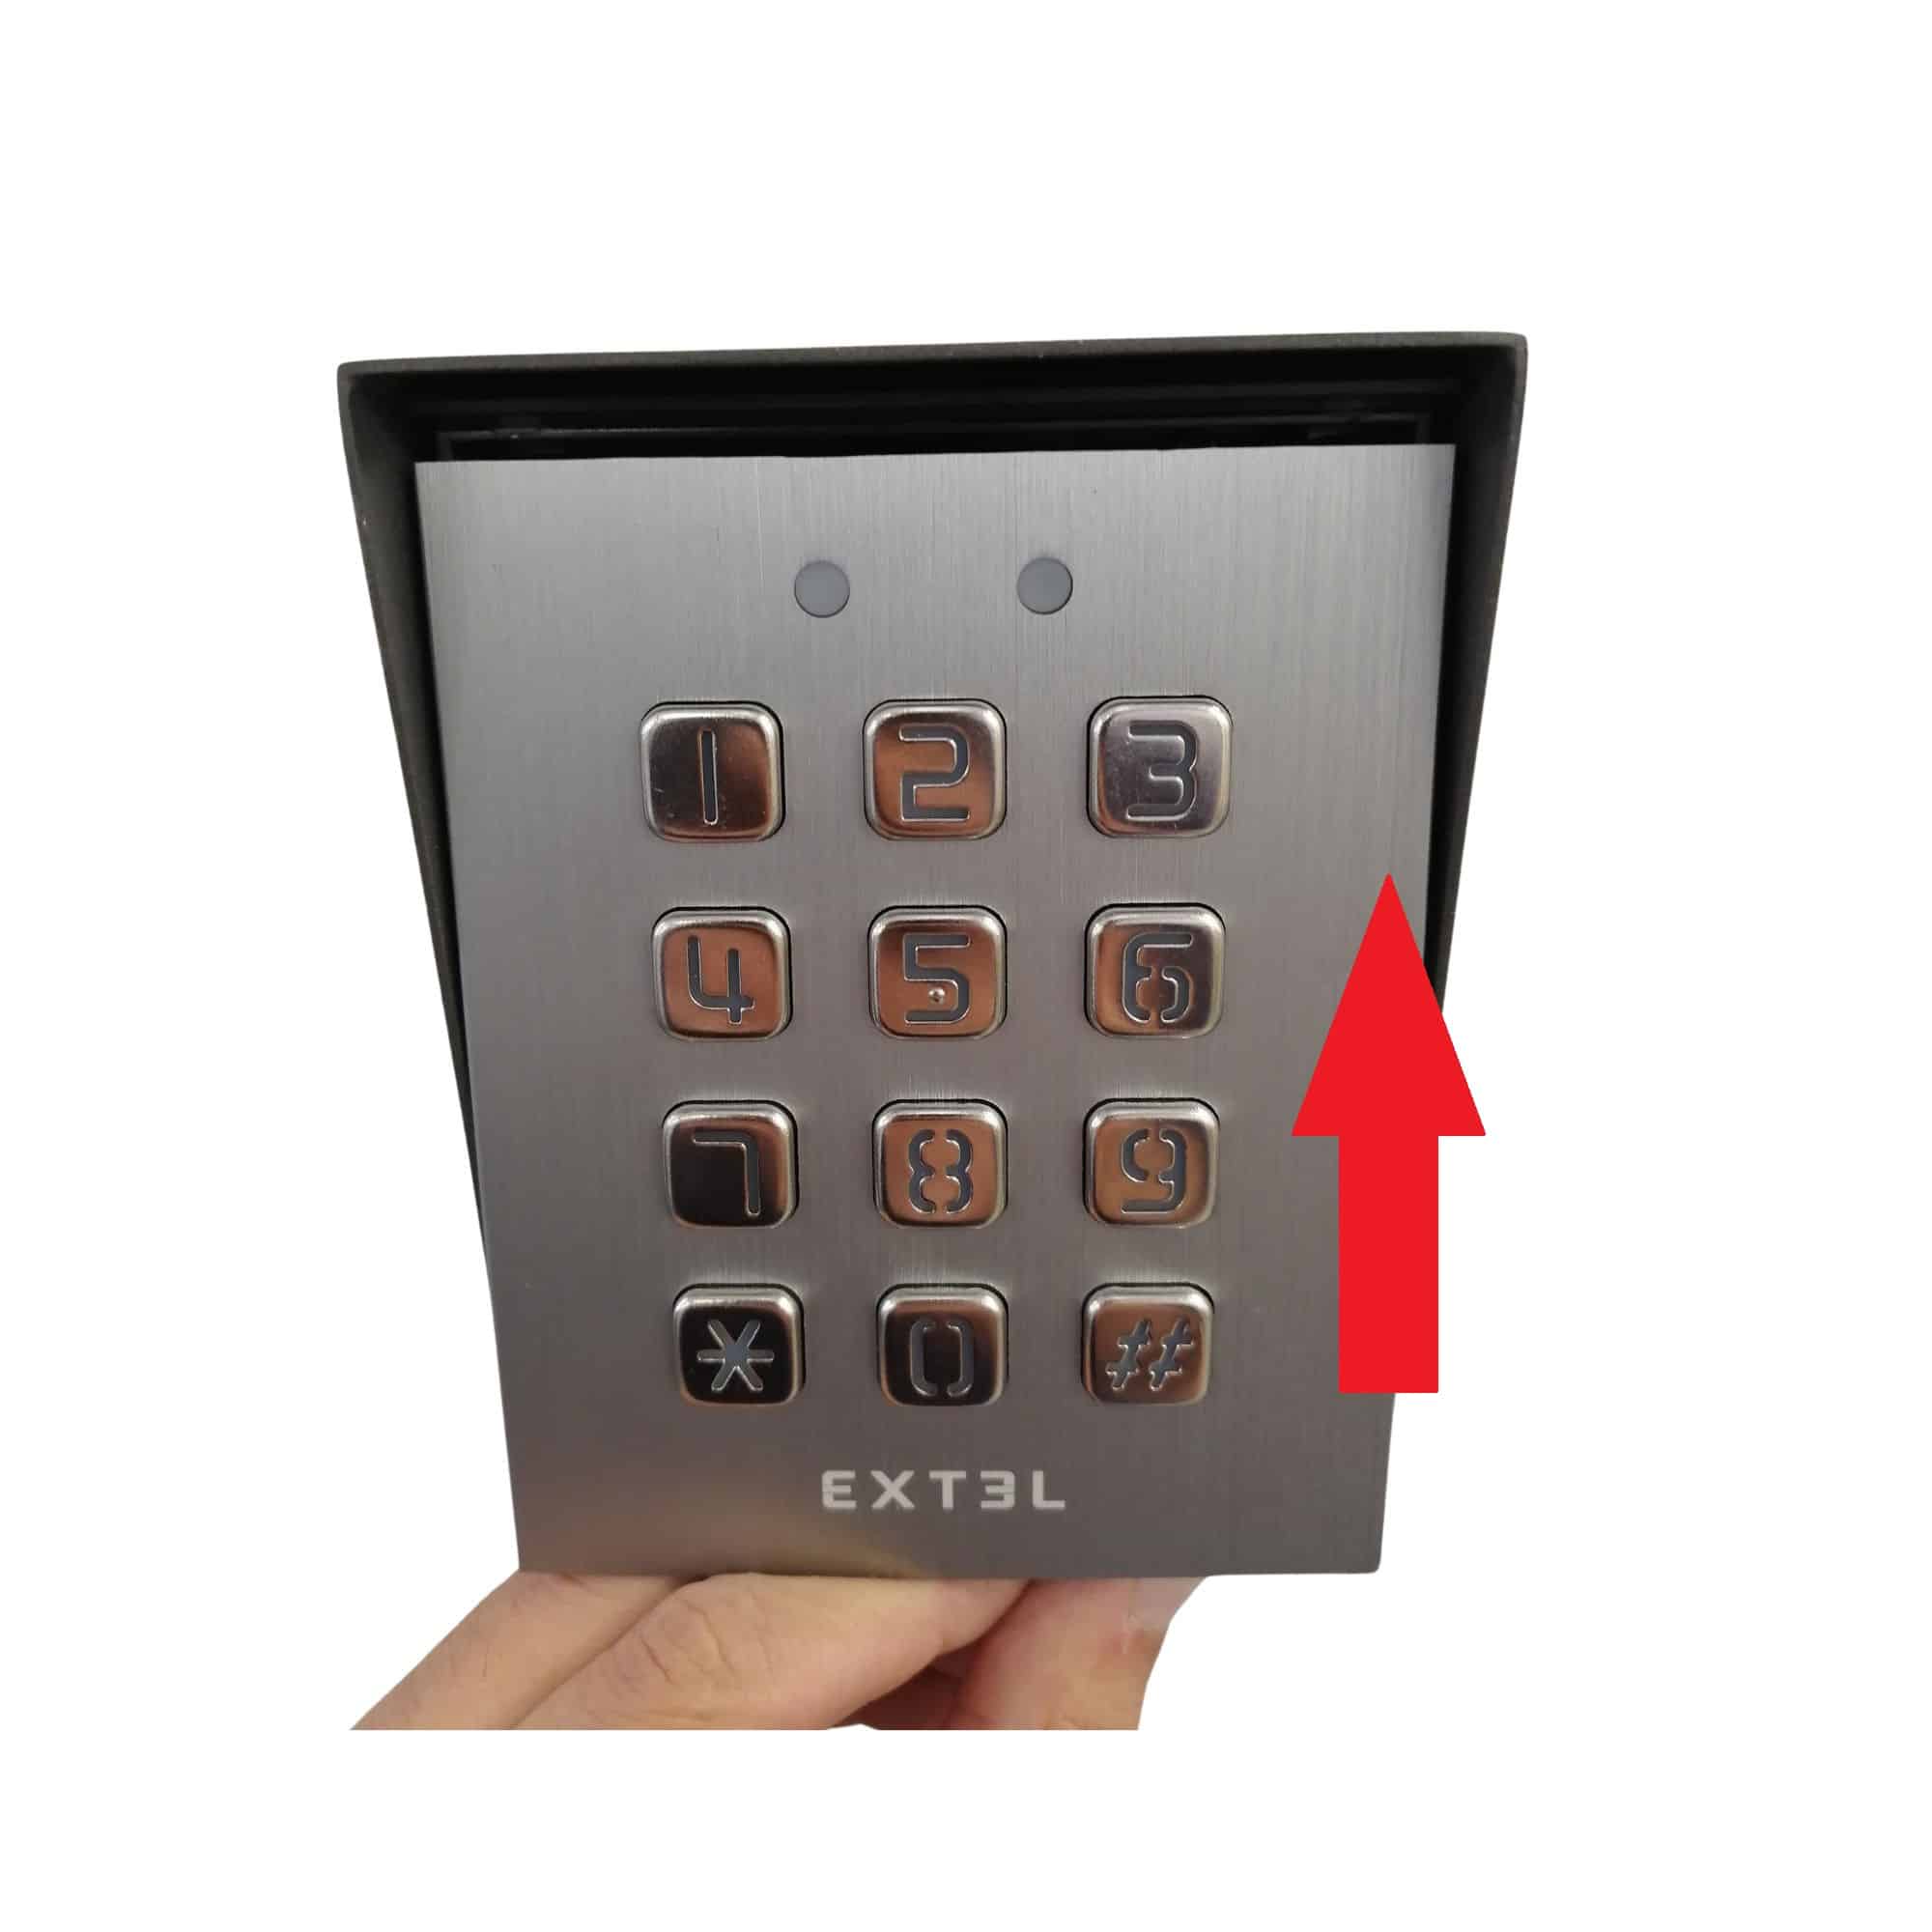
Position the keyboard face towards the top-middle of the bracket and push it up as far as it will go.
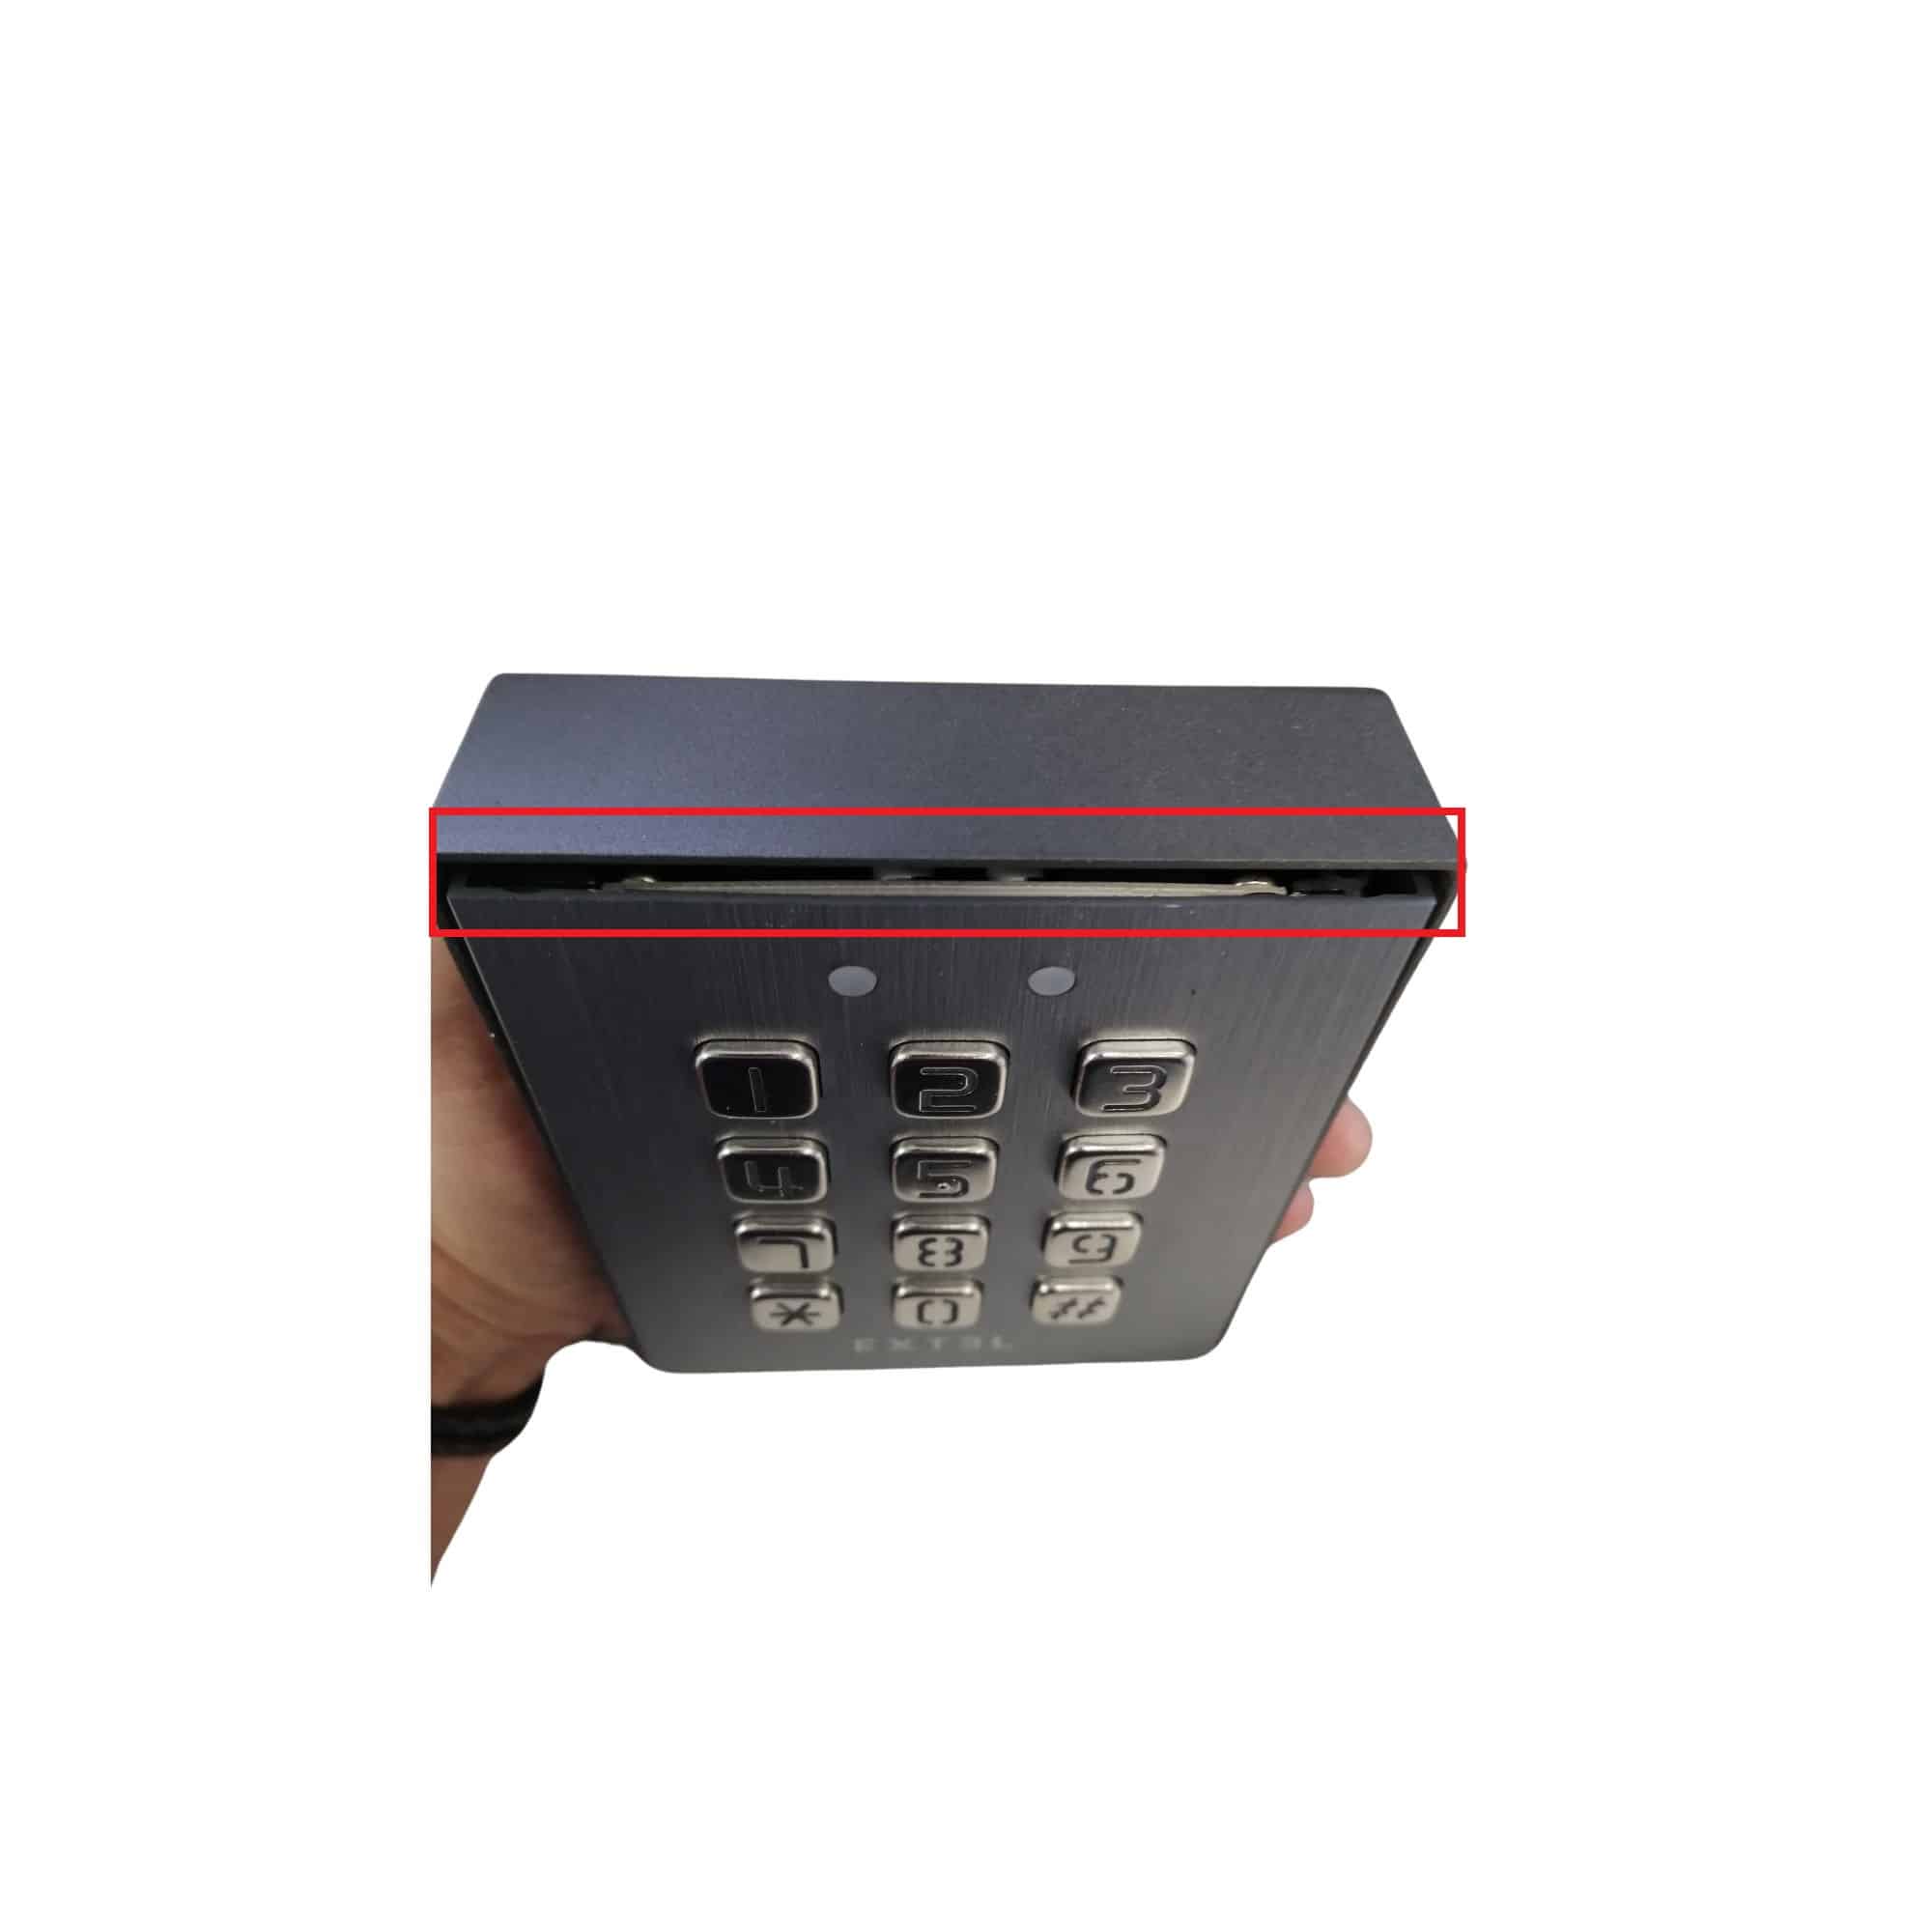
Only a small gap should remain between the face and the upper shield.
Push the bottom of the keyboard faceplate towards the bracket.
Screw the two screws under the keyboard to complete the installation.
Make sure there is no gap between the front of the keyboard and the top shield.
Do not start re-installing the keyboard by positioning the front directly on top of the bracket.