Your solar station pays for itself in an average of 2 years!
An economical solution
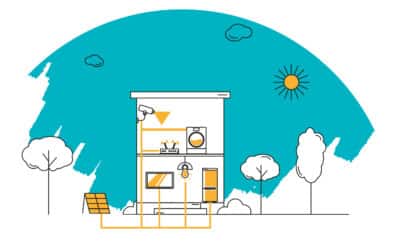
Erase the power consumption of appliances that are switched off but plugged in.
ASSEMBLE
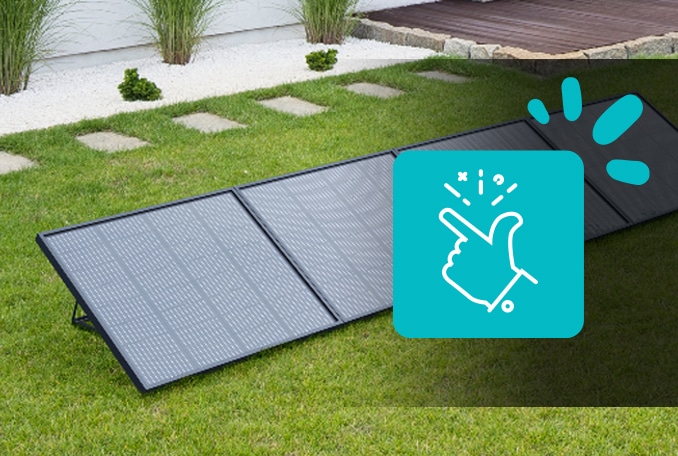
Assemble brackets and panels. The fixed 30° tilt is the ideal angle for optimum performance in both summer and winter.
CONNECT
Place your solar station on the ground, on a wall or on a balcony, preferably facing south, with no trees or roof overhangs to create shade, and plug in your kit.
PRODUCE
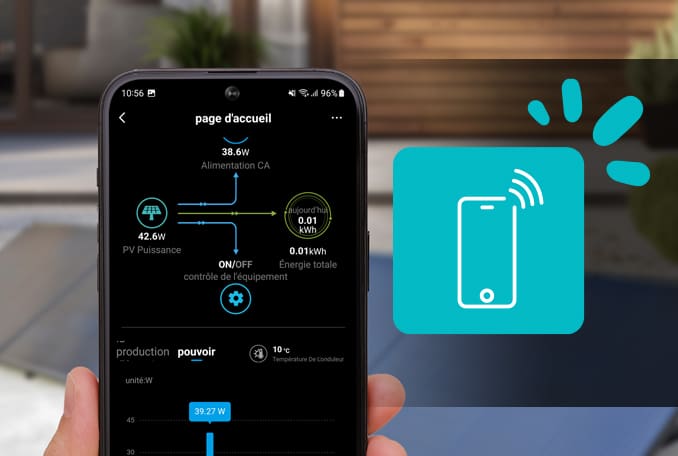
You now produce your own energy. Use the free Avidsen Home application to track your production and history.
No more energy costs for appliances on standby!

FAQ
Solar self-consumption works because your electrical socket works “both ways”. It can draw current, or receive it. The electricity consumed always comes from the nearest point. So if you’ve installed the Soria 400W solar station, the electricity will come first from the station, rather than from the energy source powering your home.
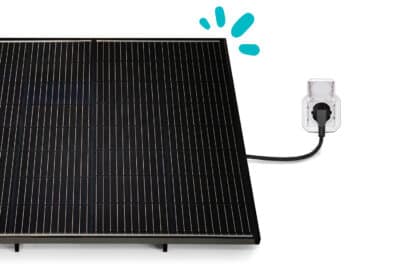
In practical terms, this means “plug and play” – everything is ready to use. No need for installation expertise! In the case of the solar station, simply assemble the brackets with the panels, and connect the station to a simple outdoor power outlet.
With no administrative formalities, you can assemble solar kits equivalent to the production of 3000W. Beyond that, specific steps need to be taken. Without energy storage, you need to adapt your equipment as closely as possible to your consumption. To optimize production throughout the day, you can install a south-facing kit as a priority, a southeast kit and a southwest kit to benefit from the longest sunshine duration.
Delivered with one inverter per package, each Soria kit is self-contained and must be connected to a power socket (connecting cable included in the package).
Soria solar stations (ref 127100 and ref 127120) are configured to operate with 1 inverter and 4 interconnected panels.
If you install 5 panels, the inverter’s input voltage will be too high, and you run the risk of damaging it.
If you install only 3 panels at the inverter’s input, you won’t reach the inverter’s minimum operating voltage, and electricity production will be very low, or even non-existent.
For optimum performance, you should therefore keep to a kit installation of 4 panels and 1 inverter.
The Soria 400W solar station covers your consumption heel (= the consumption of your appliances on standby). It reduces the number of watts consumed and billed, but theoretically there will be little or no surplus. Everything produced is consumed instantly. The question of battery storage begins to arise at least at 800W.
Note: The average standby power consumption of a French household is between 150 and 350 Watts.
Every manufacturer offers solar panels in 350W, 400W, 420W, 650W…and you don’t know which one to choose? First, you can adapt the power to your needs, then you can compare prices. You can divide the price by the number of watts to obtain a price per watt. This means that your measurement index is the same for all kits, whatever their power rating.
Ex. You’re deciding between a 400W A kit at €499 and a 500W B kit at €699.
For kit A: 499/400 = €1.25 per watt
For kit B: 699/500 = €1.40 per watt
Contents SORIA kit, ref. 127100 (floor-mounted) :
- 4 solar panels, 100 watts each
- 4 floor-mounting brackets with 30° fixed angle
- 1 inverter
- 1 2.50 m panel connection cable
- 1 x 3 m power cable
- Screws and bolts required for installation
- Assembly hardware: 1 flat wrench 10 and 13, 2 Allen keys M6 and M8
SORI kit contentsA, ref. 127120 (choice of floor or wall mounting) :
- 4 solar panels, 100 watts each
- 4 floor-mounting brackets with 30° fixed angle
- 1 inverter
- 1 x 2.50 m panel connection cable
- 1 x 3 m power cable
- Screws and bolts required for installation
- Assembly hardware: 1 flat wrench 10 and 13, 2 Allen keys M6 and M8
- 4 wall-mounting brackets with a fixed 60° angle + 4 plastic clamps to connect each panel to its bracket
Optional accessories :
-Ref. 127121 : Wall-mounting kit with 60° fixed angle + 4 plastic clamps to connect each panel to its bracket
(included in Soria kit rèf.127120)
-Ref. 127126 : Balcony mounting kit
On the ground, you can place the panels on any flat surface: on the ground, on a terrace, on the lawn… This kit is not suitable for roof-top installation. We also advise against installation on flat roofs.
The angle of inclination of the panel support is fixed at 30°. The 30° angle of inclination is ideal for optimum performance in both summer and winter. All our panels take up just 2.2m2 of floor space once installed. The panels are installed in line.
If you have opted for the wall-mounted kit, you can install your solar station on a wall on your property.
If you have opted for a balcony installation, make sure it complies with your condominium regulations.
Whatever your choice of installation, opt for a south-facing position, or failing that, south-east or south-west.
We recommend setting the output power of the Soria inverter to 100%, so that the inverter always delivers maximum power.
NB: if not all production is used, it will be injected into the distribution network.
You’ll need to make a simple declaration to Enedis (a single declaration for several kits will suffice; the CACSI requires you to enter a power rating, so simply add up the power ratings of your kits). It does not require payment or validation by Enedis. You’ll find all the steps in the “How to fill in the Cacsi form” tutorial.
To install a Soria 400W solar station, you need to fill in the CACSI form. (Convention d’Autoconsommation Sans Injection)
- Microinverter brand: Kaideng
- Microinverter model: KD WVC-400
- Certificate of conformity (for Cacsi declaration).
Please note that for any installation above 1.80 m, you must contact your local town hall to find out whether any additional formalities are required.
If you have opted for a balcony installation, make sure it complies with your condominium regulations.
It’s important to synchronize the sunniest hours of the day with your energy consumption! Generally between 11am and 4pm, with a peak at 12pm.
For example, you can program your dishwasher to run at this time when you’re away, and charge your phones and tablets at these times. And don’t forget sunny days when you can vacuum your car or use the pressure washer on the terrace.
So you can optimize your solar station!
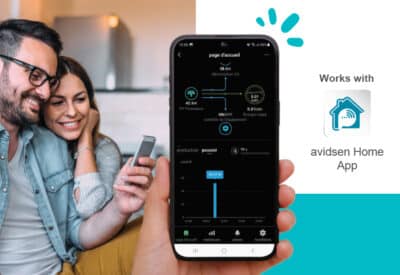
Get your month-on-month production comparison.
-Read your production history regularly.
-Our solar panels work with the free Avidsen Home application. This is your chance to add solar panels to your existing Avidsen ecosystem.
Solar panels should ideally face south, otherwise south-east or south-west.
IMPORTANT:
- The 4 solar panels of a single station must all face the same direction!
- All 4 panels must be in the sun! If only one of them is in the shade, your energy production will be reduced.
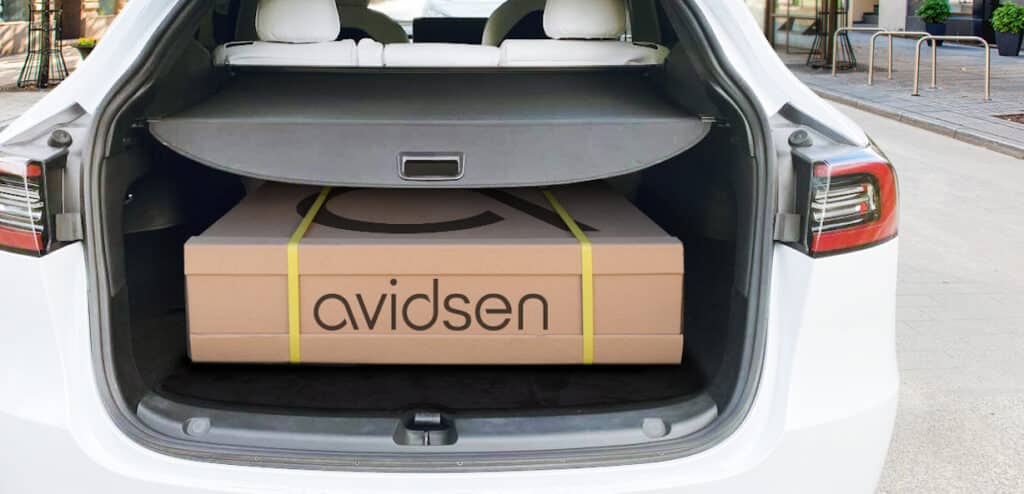
The package size for Soria solar stations is : 78.5 x 74.5 x 18 cm.
The weight of the package varies according to the kit:
- Ref. 127100 : 29.5 kg
- Ref. 127120 : 30.5 kg
This makes it possible to transport this unique package in most standard car trunks.
Dimensions are common to both SORIA kits (reference 127100 and reference 127120).
1 panel: W 76 cm / H 68 cm / D 3 cm
You can connect your Soria 400W solar station if your electrical installation is three-phase and you have a Linky meter.
Yes, you can add an extension cord, suitable for outdoor use, without any loss.
As recommended in the SORIA product leaflet for floor installation, each panel should be weighted down with a 5 kg bag of sand.
Our servers are located in Germany.
No, the inverter in Soria solar stations is powered exclusively by solar energy.
So there’s no need to unplug your Soria system in the absence of sunlight or at night, as it has zero standby consumption.

